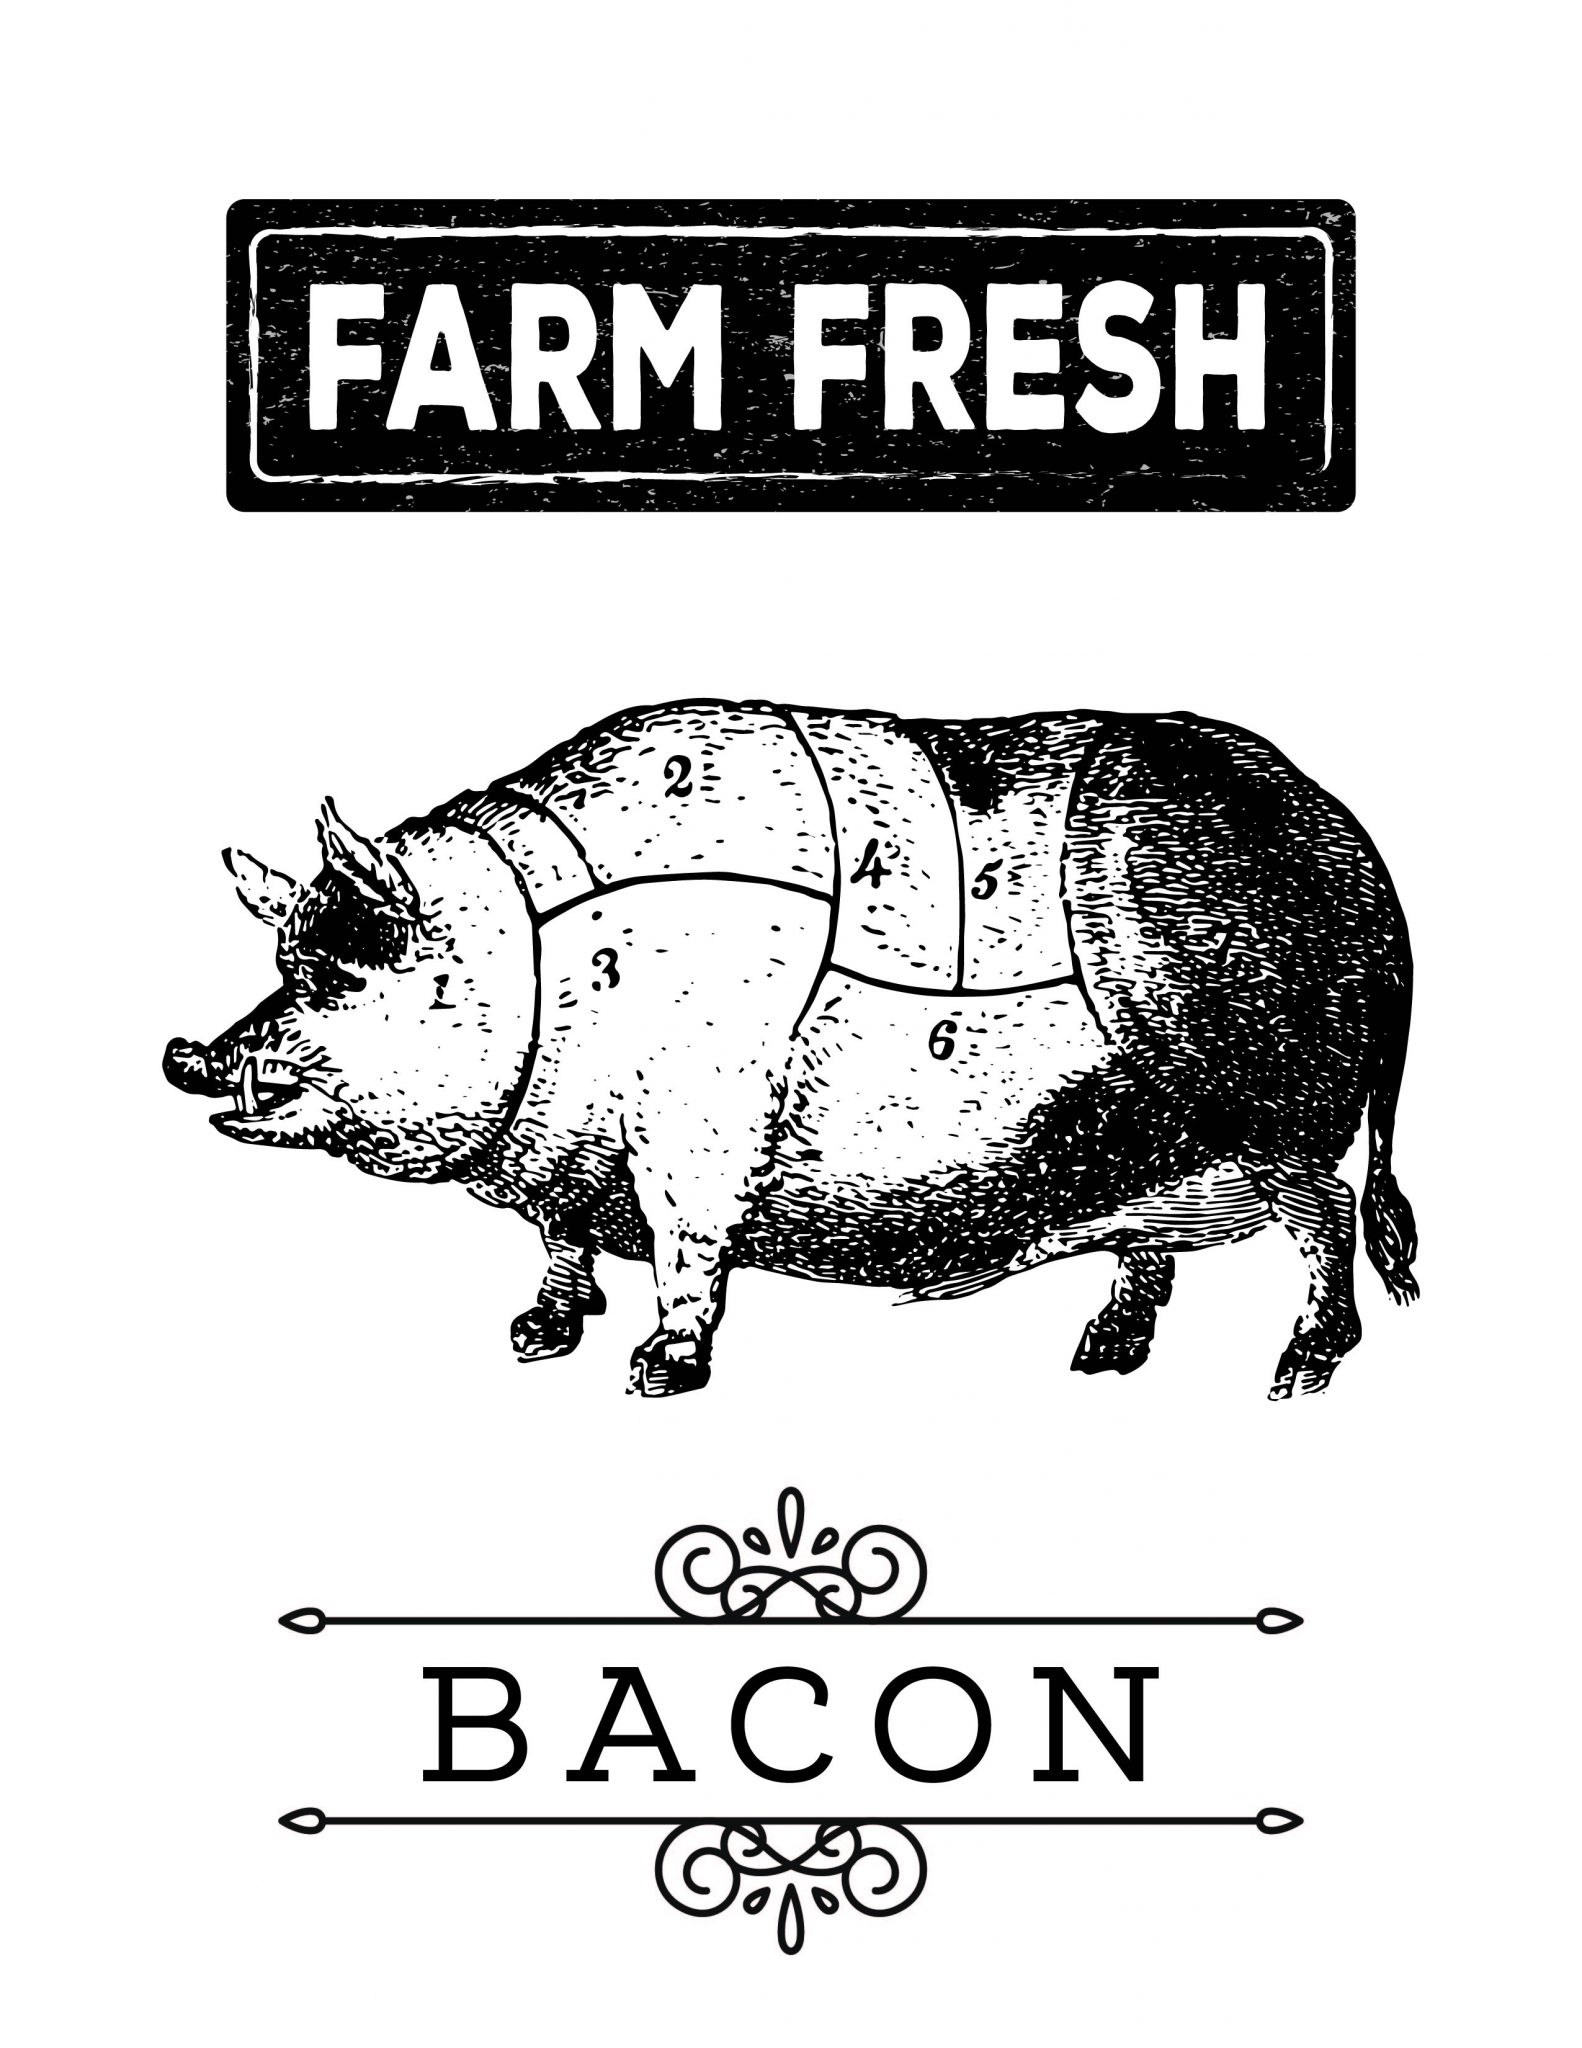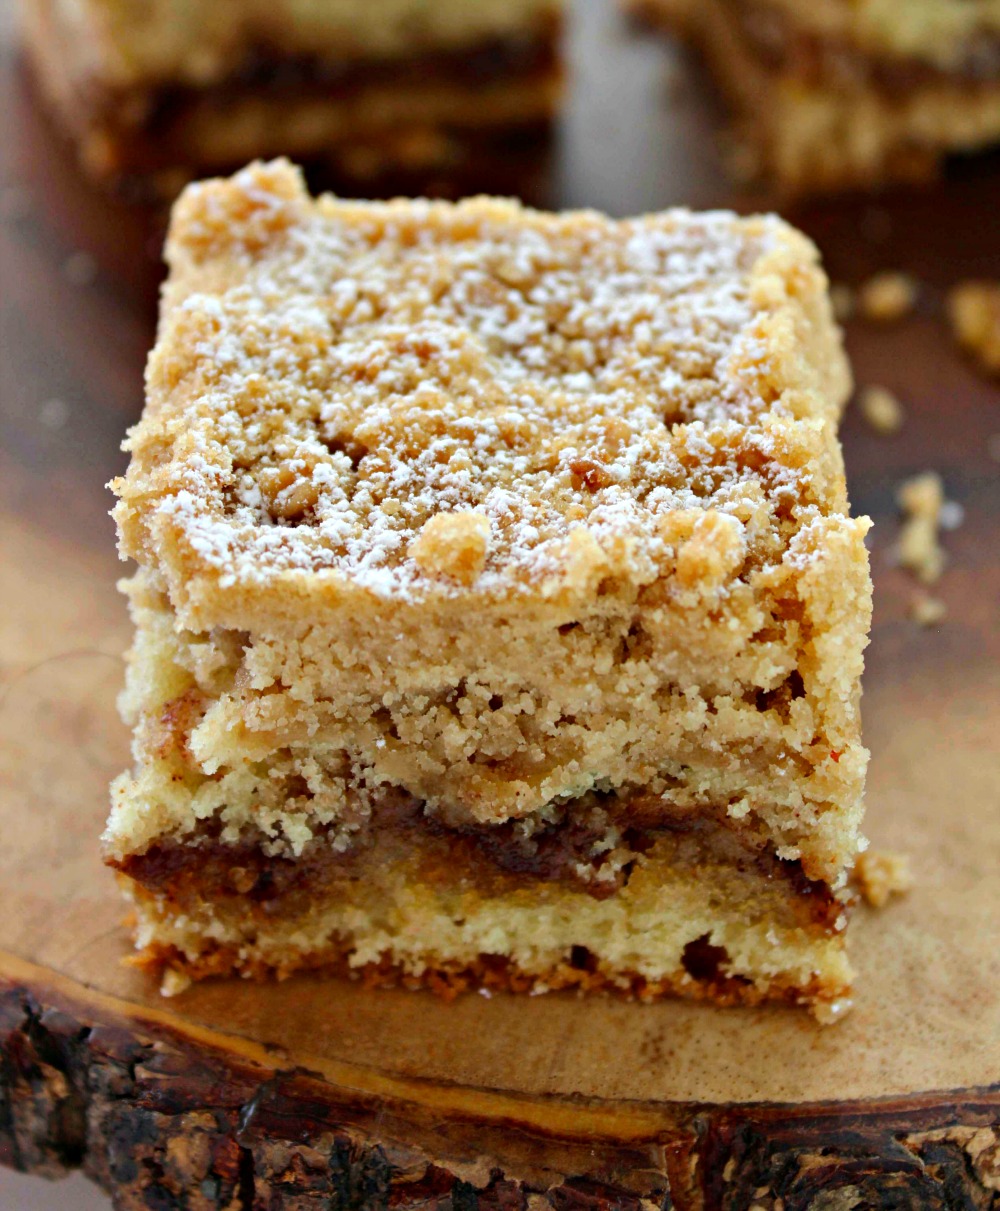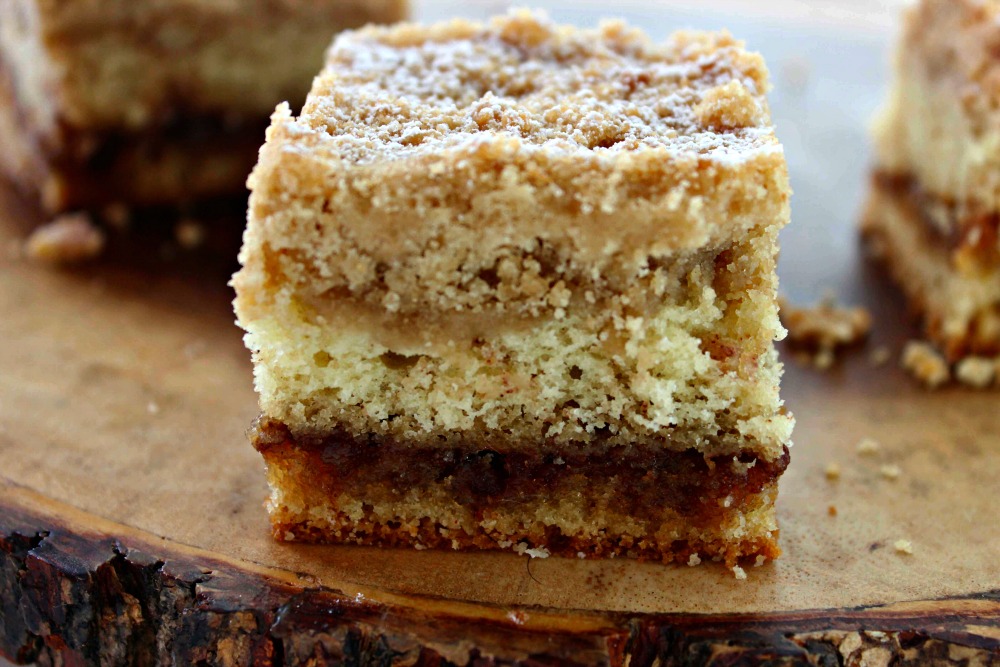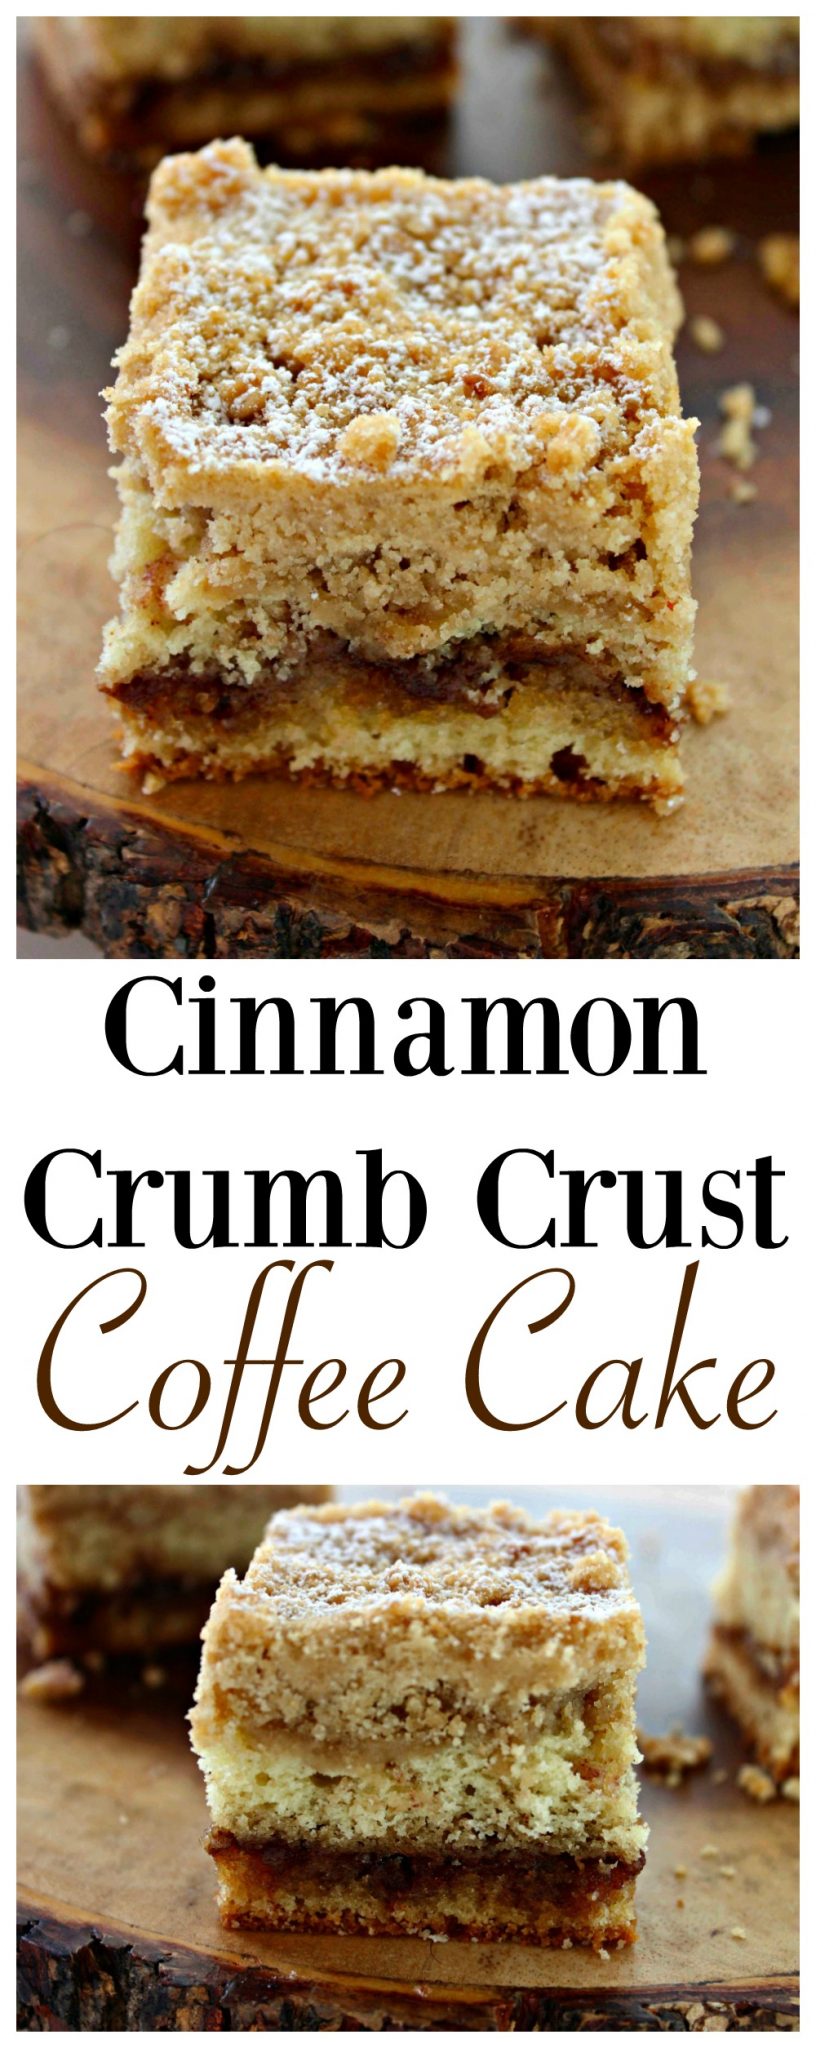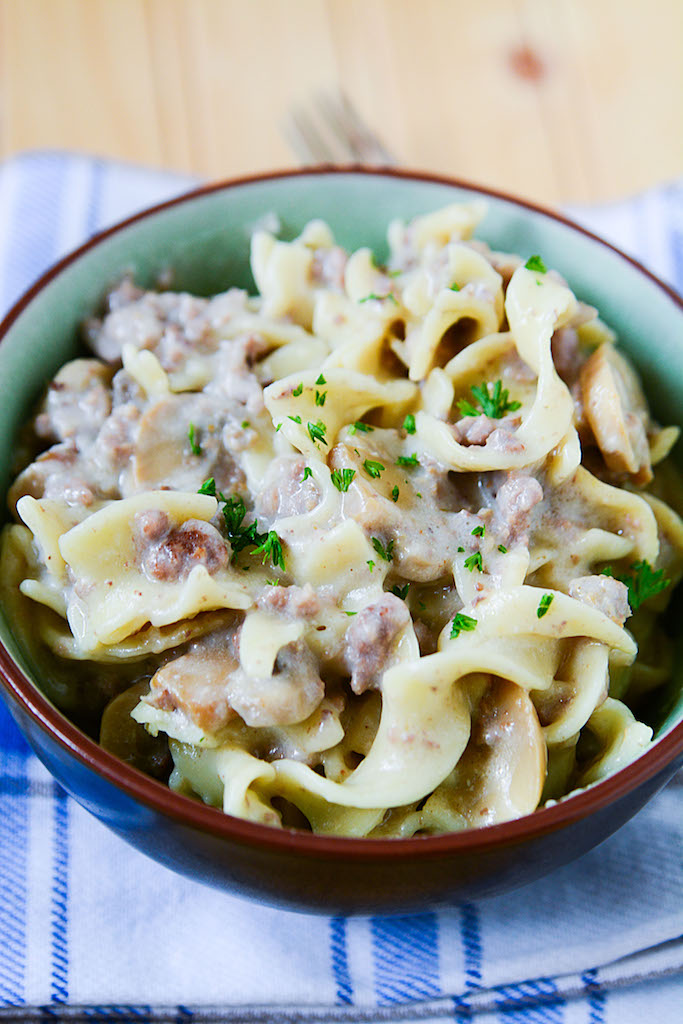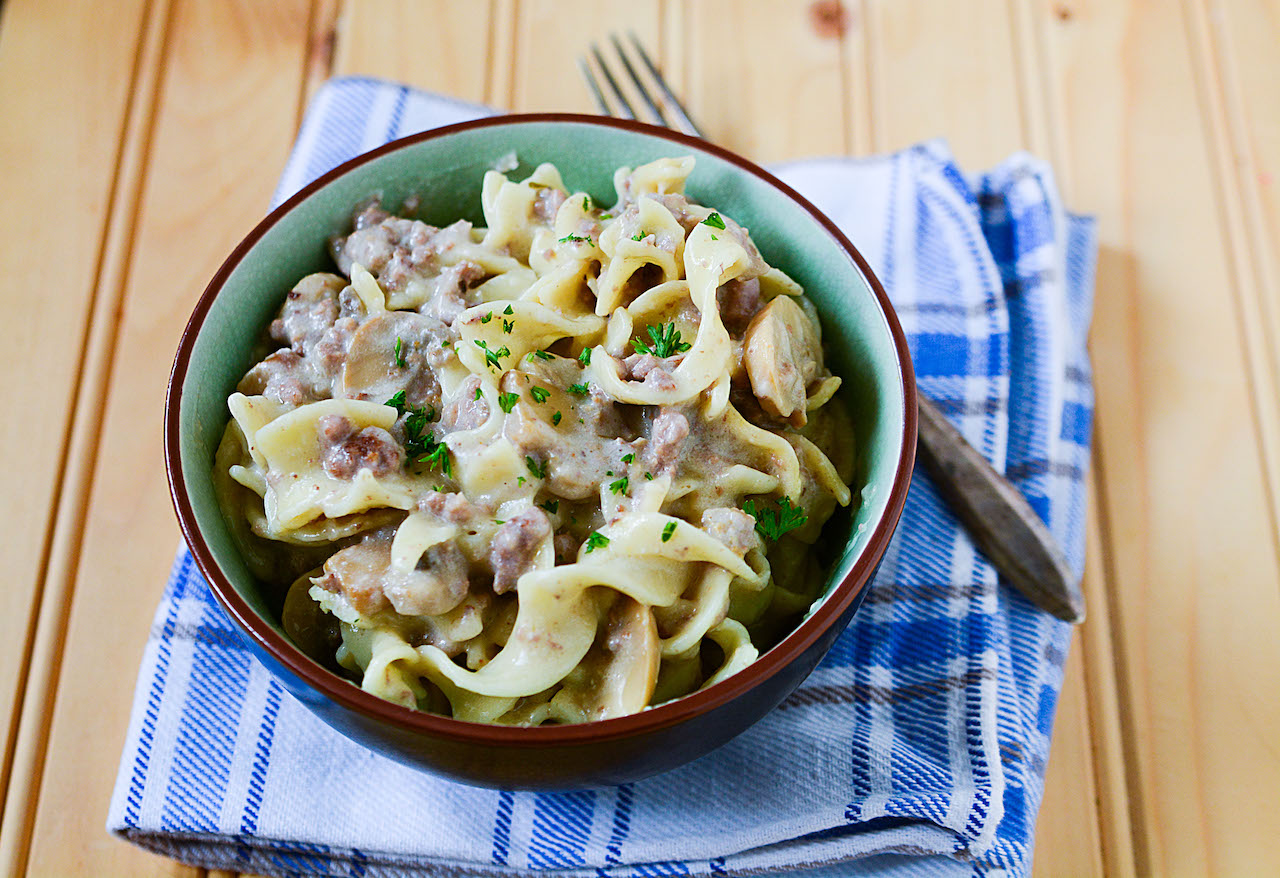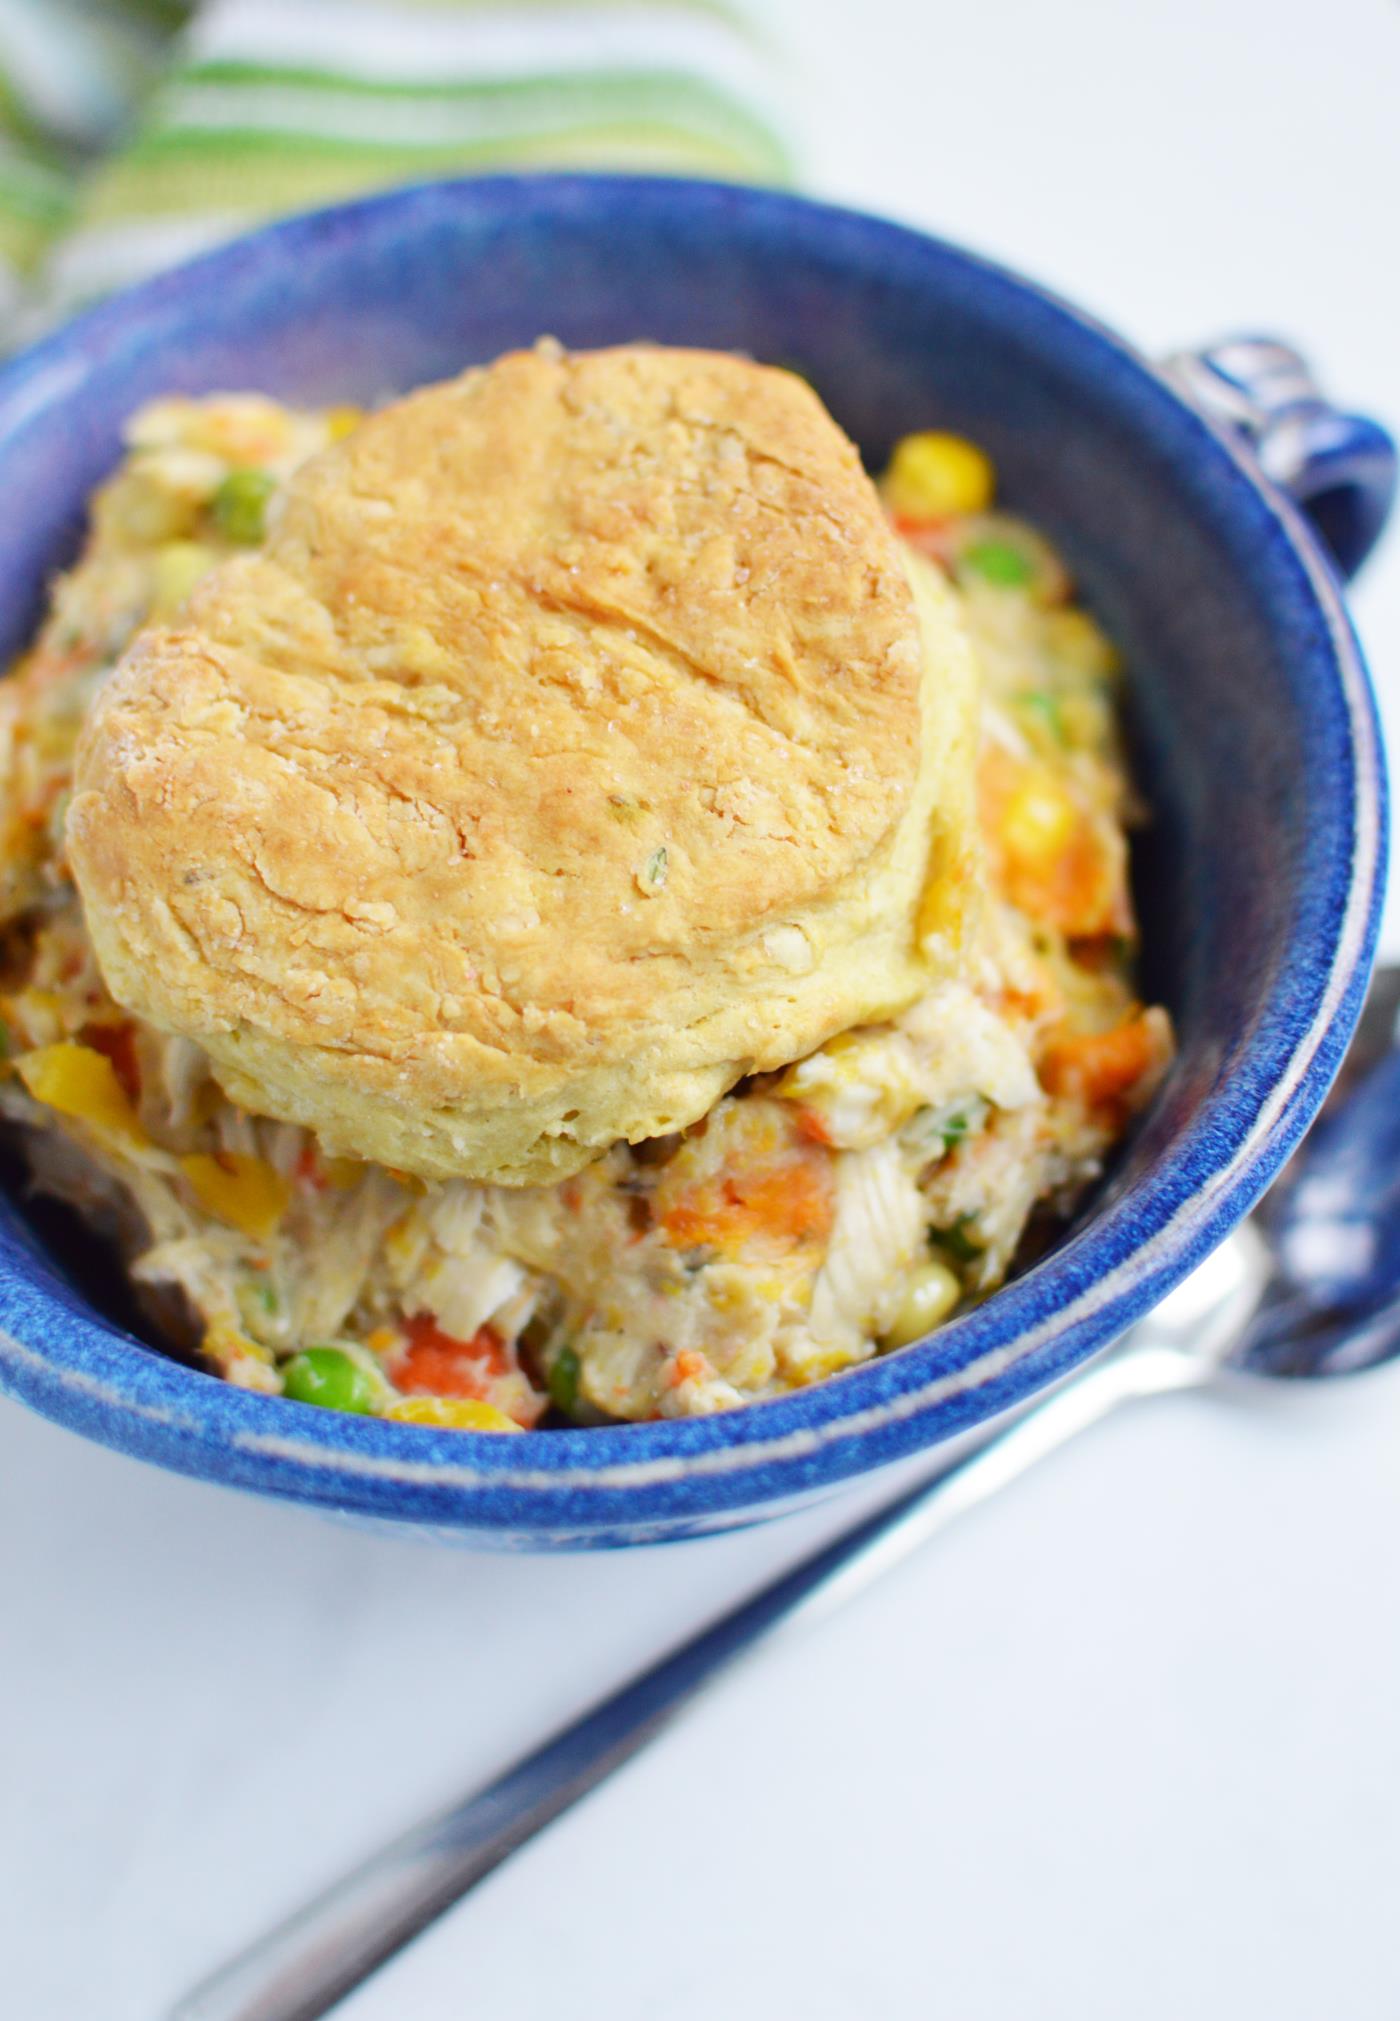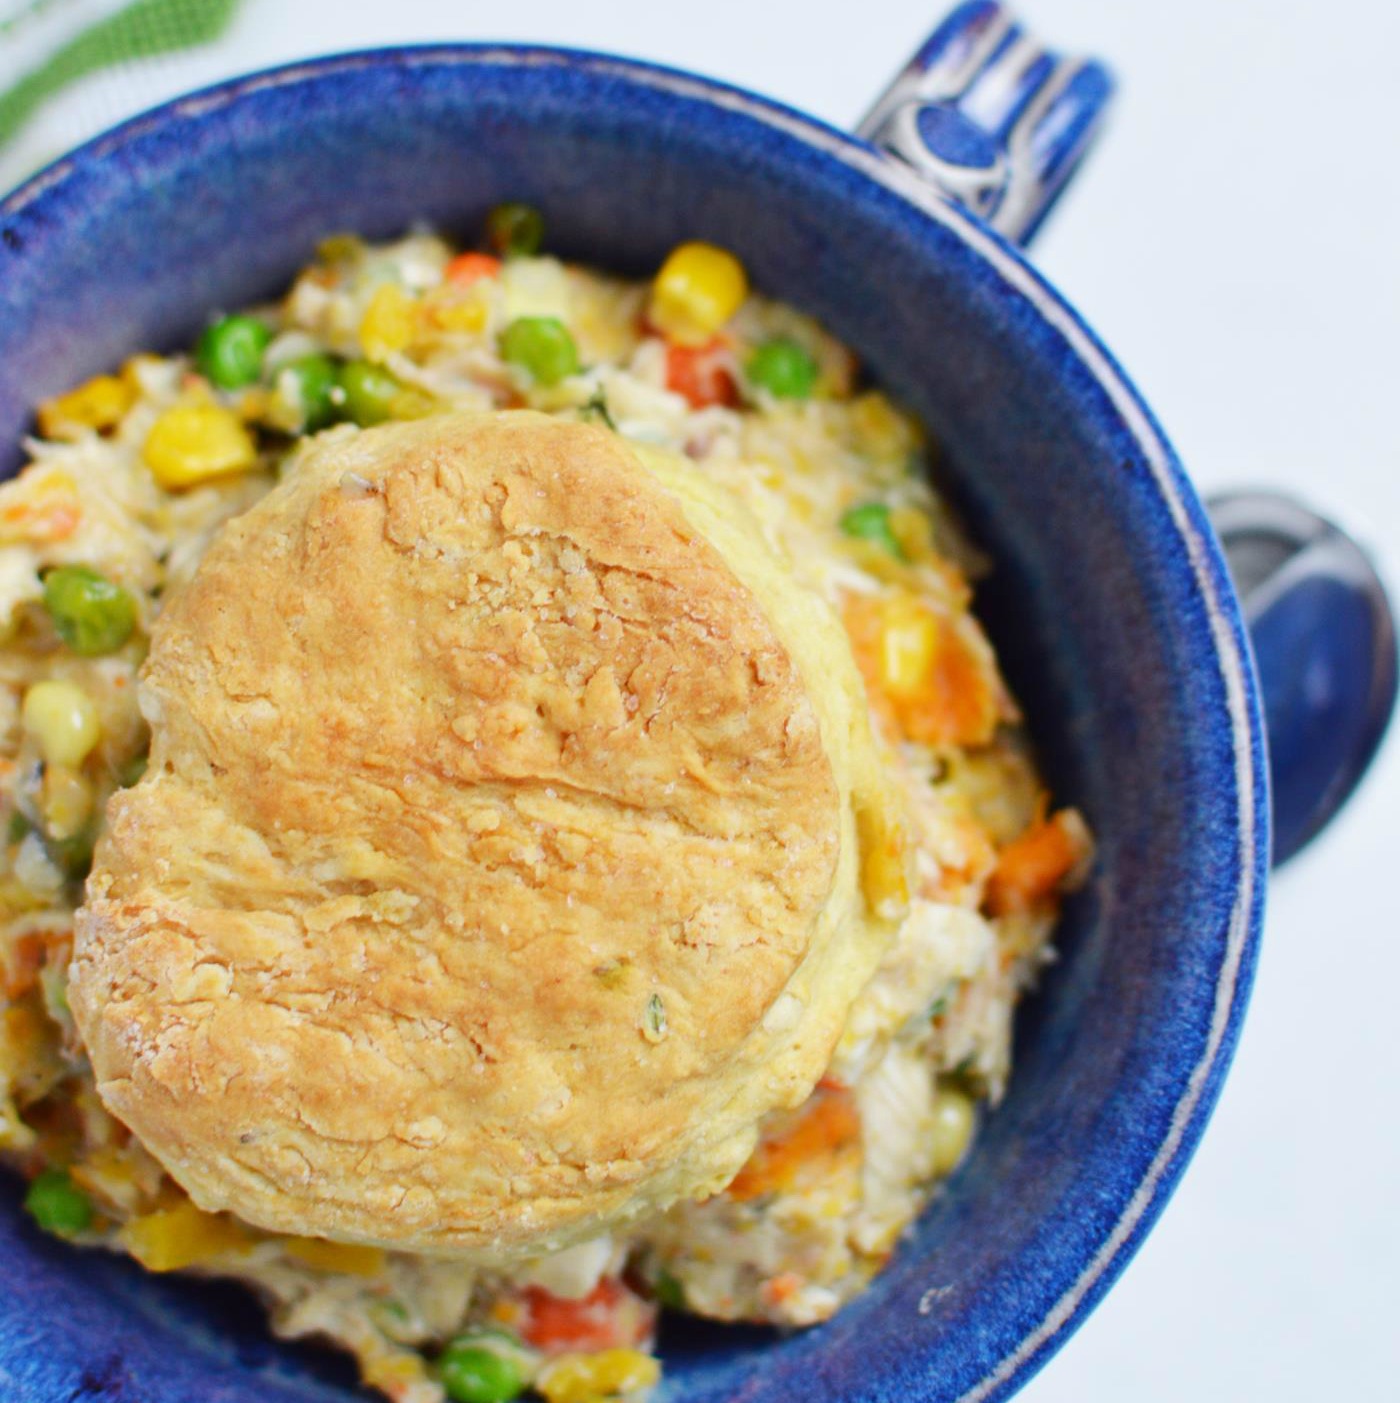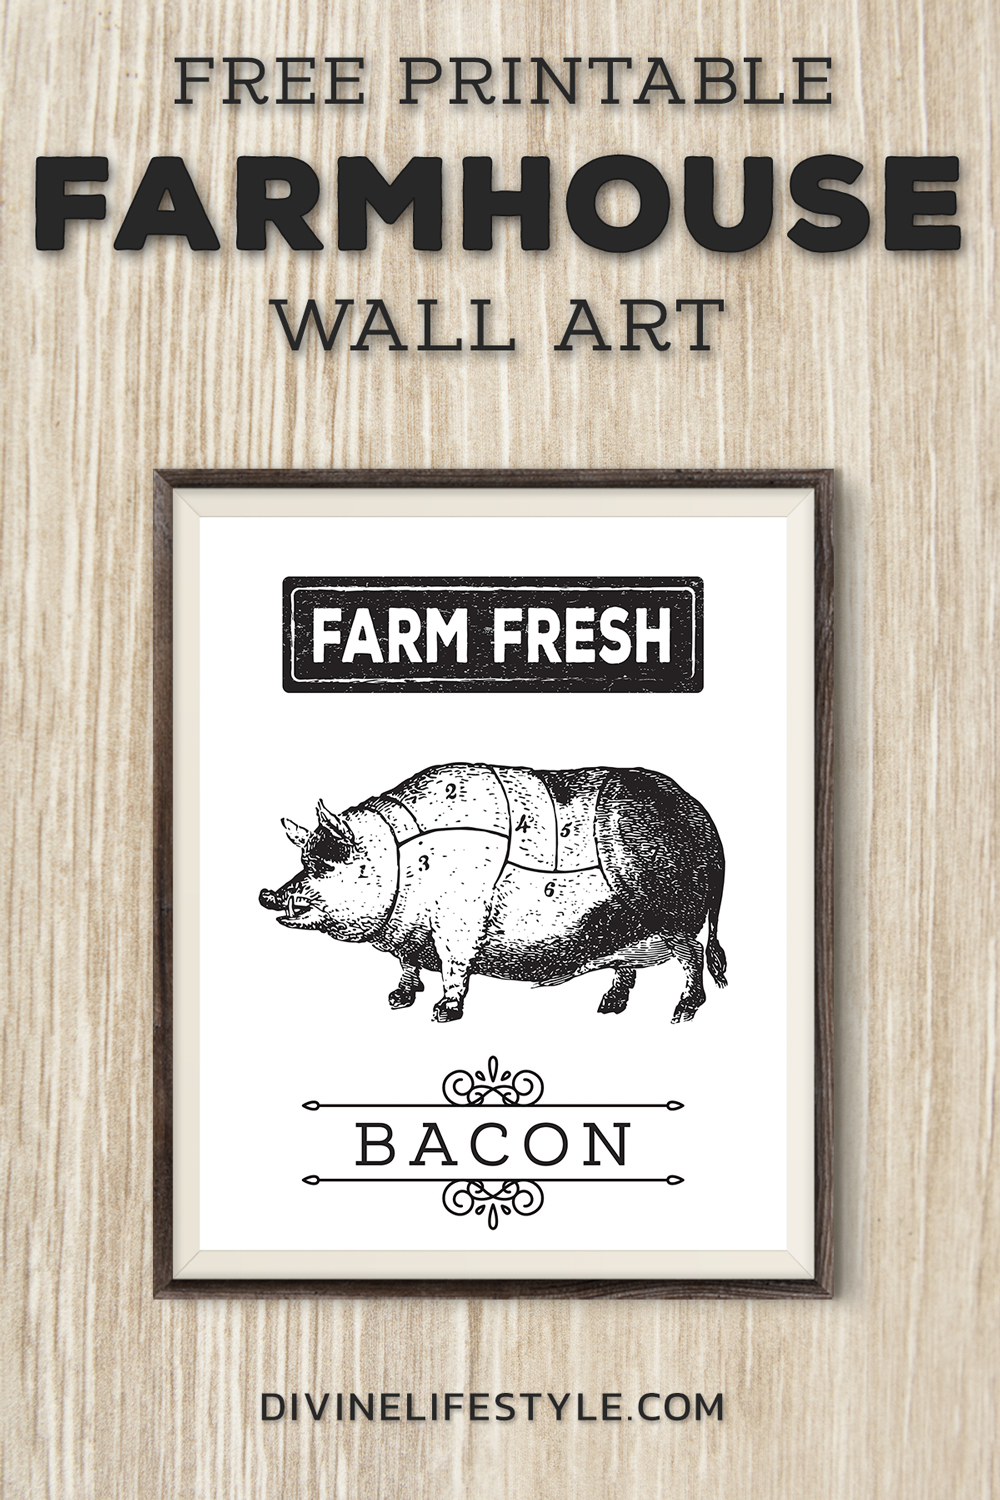
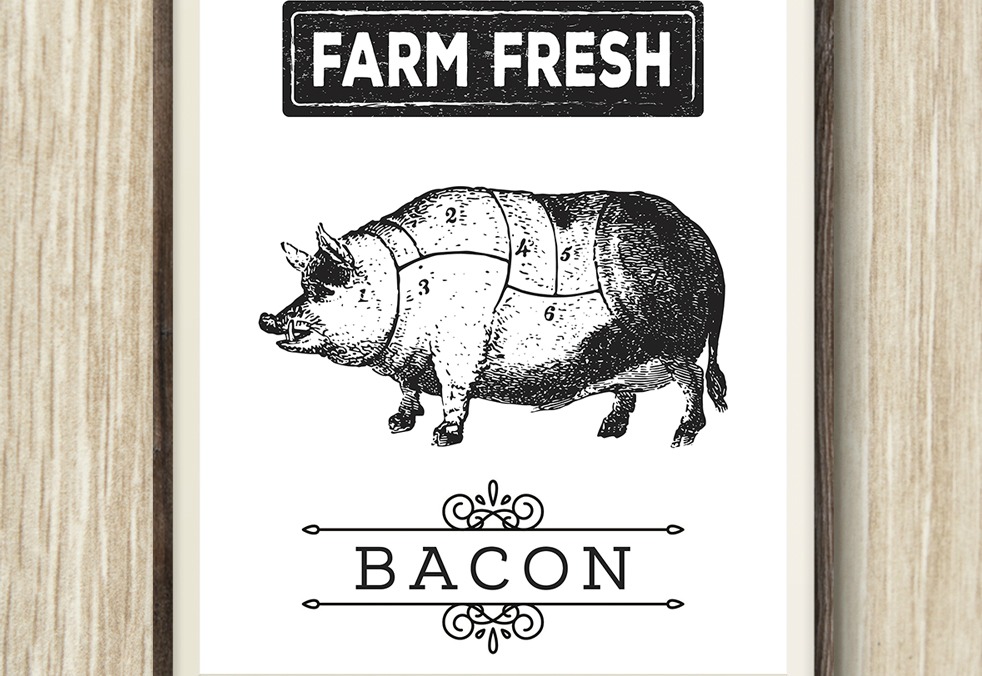
FREE Printable Farmhouse Pig Wall Art
Greetings bacon lovers! If you are anything like me, then you take your bacon seriously. I am all about the bacon and in fact, it’s an entire category on this blog, just because we love cool bacon recipes. It’s pretty crazy to think of all of the things that you can do with bacon isn’t it? I am not going to Forest Gump you here because I made my word count. We hope that you truly love this FREE Printable Farmhouse Pig Wall Art.
My wife recently told me that I should give away a printable. Something cool. Something foody. Something to do with bacon. My first question was, “what the heck is a printable?” Once I Googled that, I surfed around and noticed that about 99.9% of the sites that offer free printables are run by women. So I went back to my wife and asked why in the world I would want to do this. She said people love printing stuff and they especially love getting it for free but you have to make certain to type 300 words to satisfy Google and then you have something nice you have done for your readers.
While I wasn’t exactly sure what readers she was referring (thanks Dad and FIL for reading) to, I decided that the best thing in life you can do is to do what your spouse tells you so here I am writing a post to satisfy:
- my wife
- The Googles
- you readers
This girly yet manly Pig Bacon printable is perfect for those just starting out without any decor. Print this thing out and bam, you have decorated your kitchen. Retire to living room with beer. So there you have it…a free bacon printable of a pig. Isn’t your life now complete? We hope that you are inspired by this FREE Printable Farmhouse Pig Wall Art. Now get cooking and make it bacon!
CLICK TO PRINT