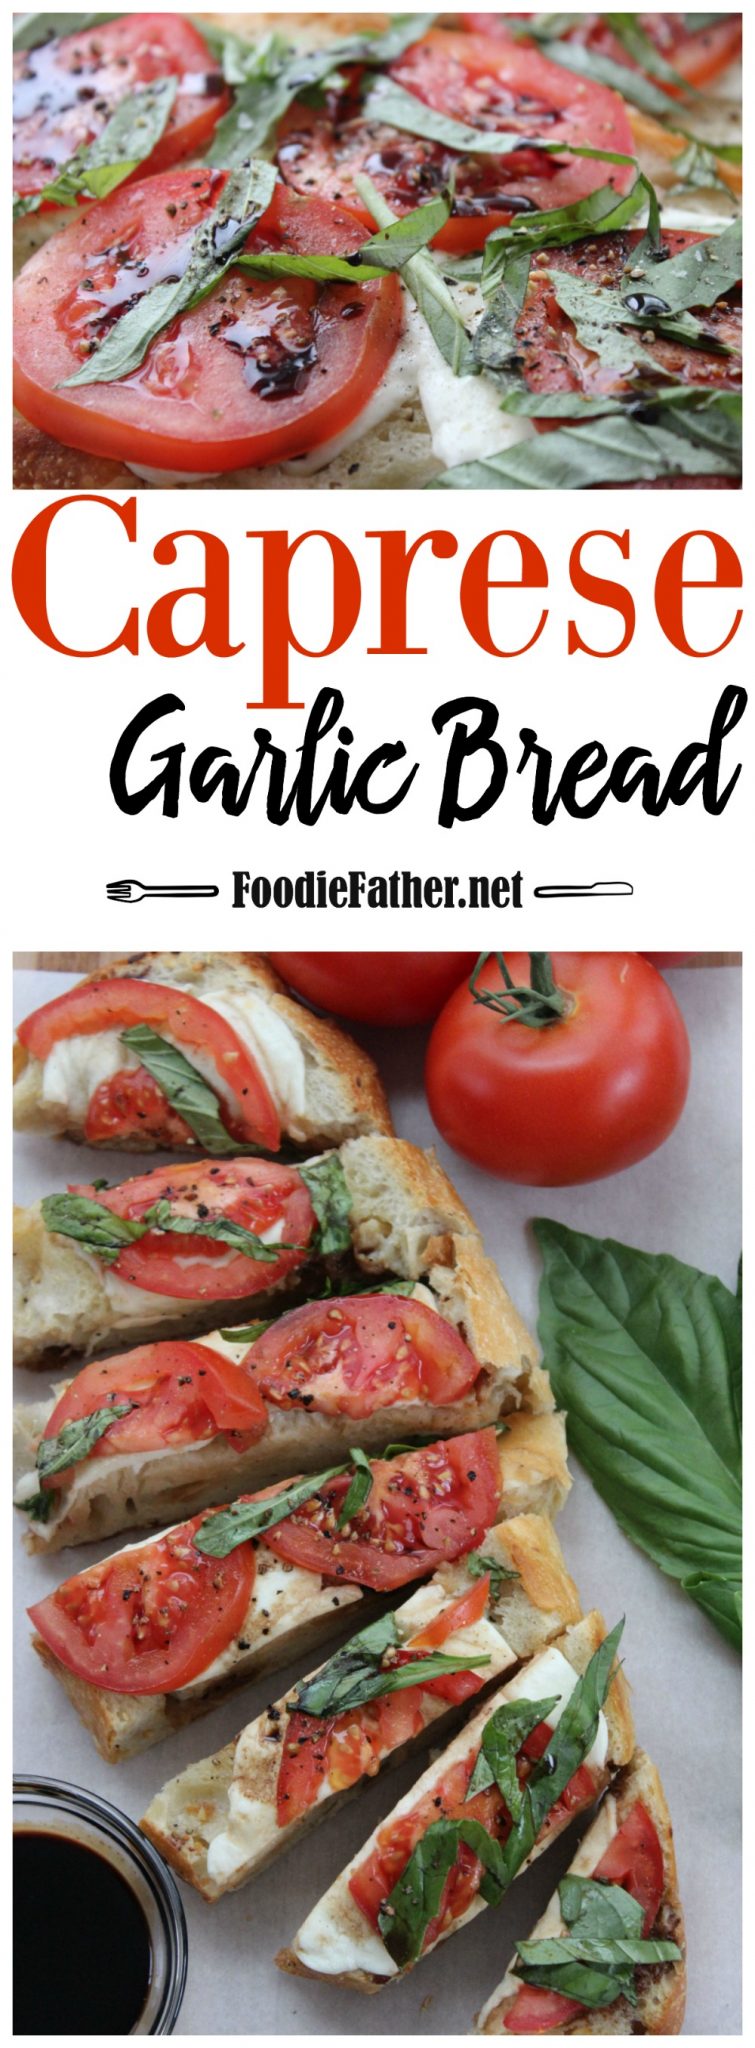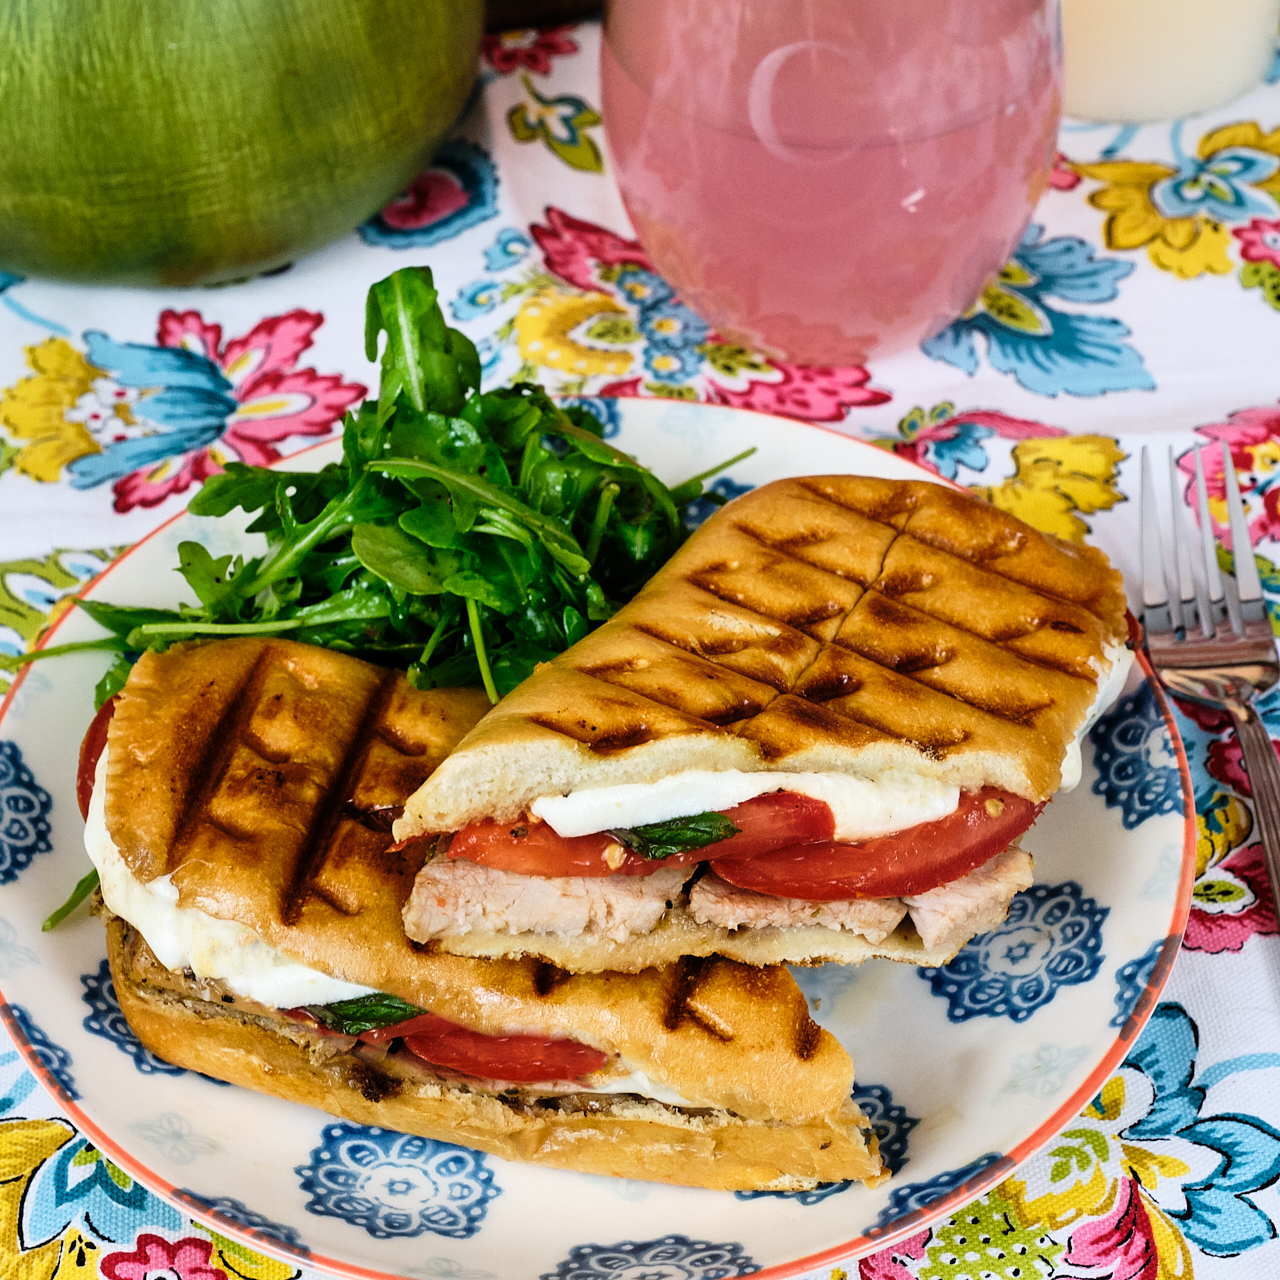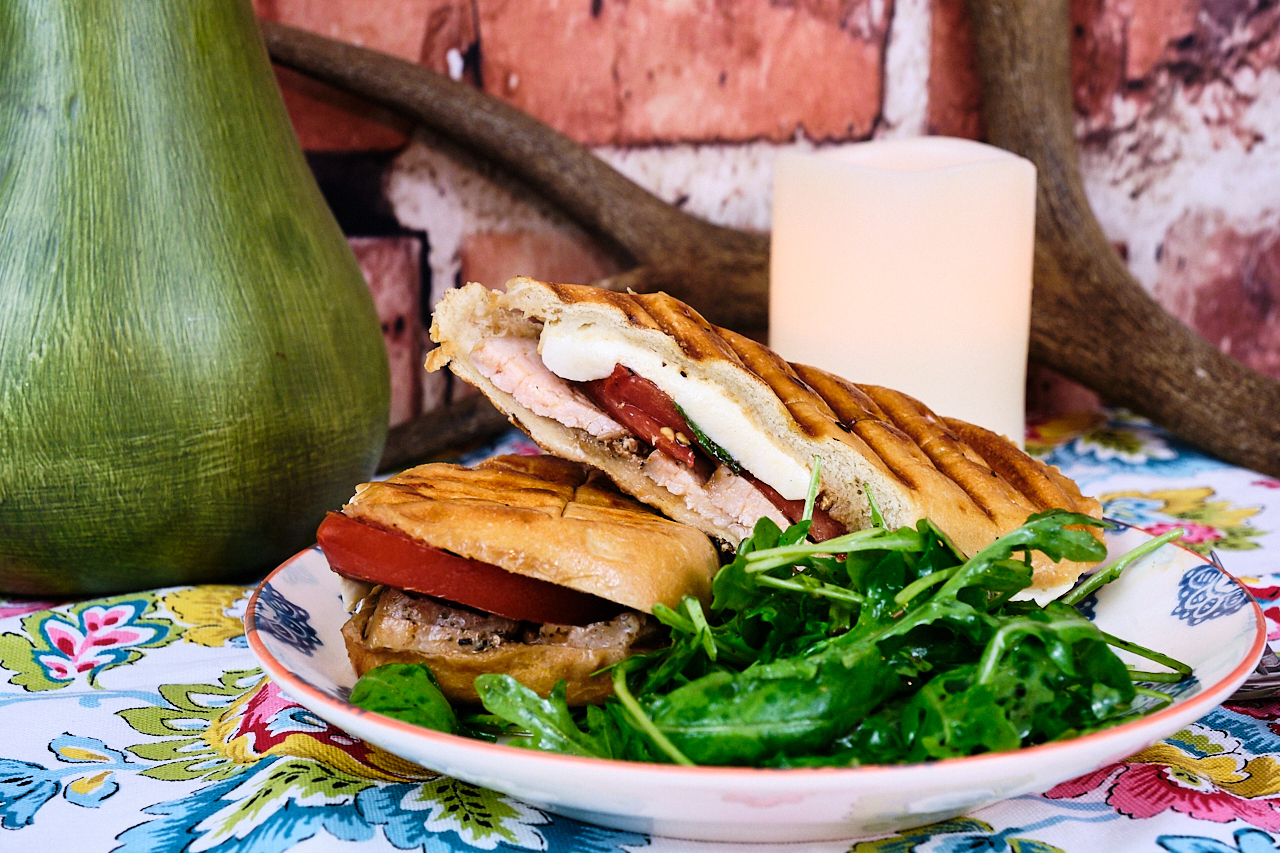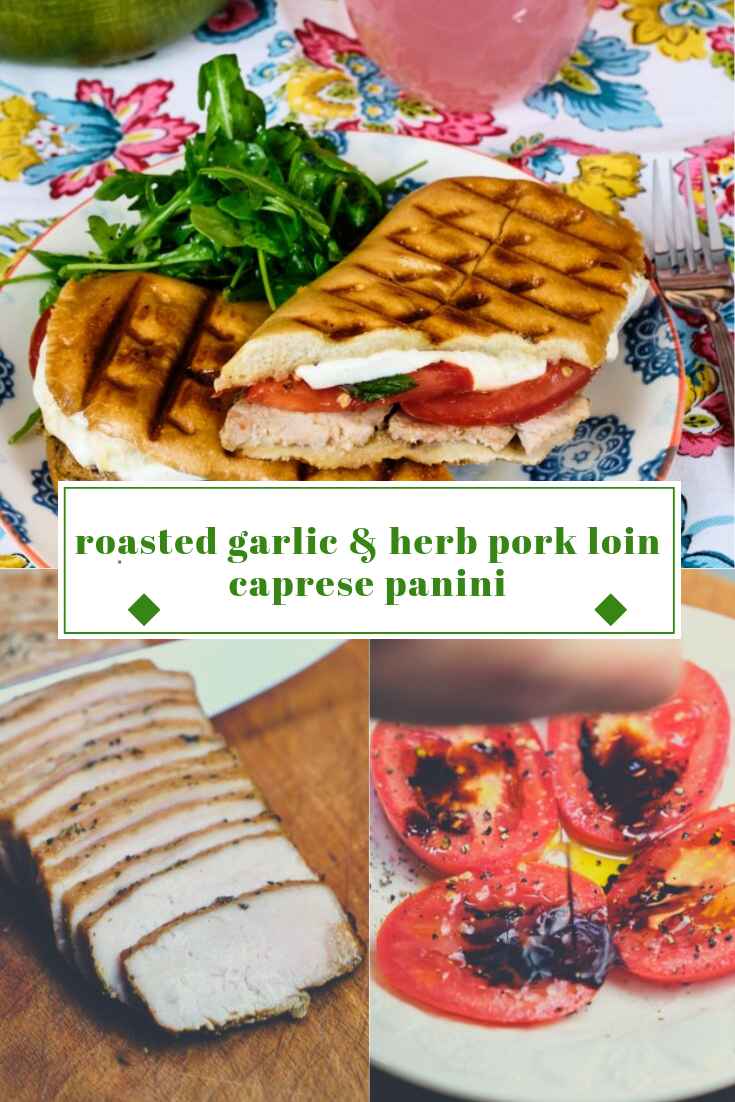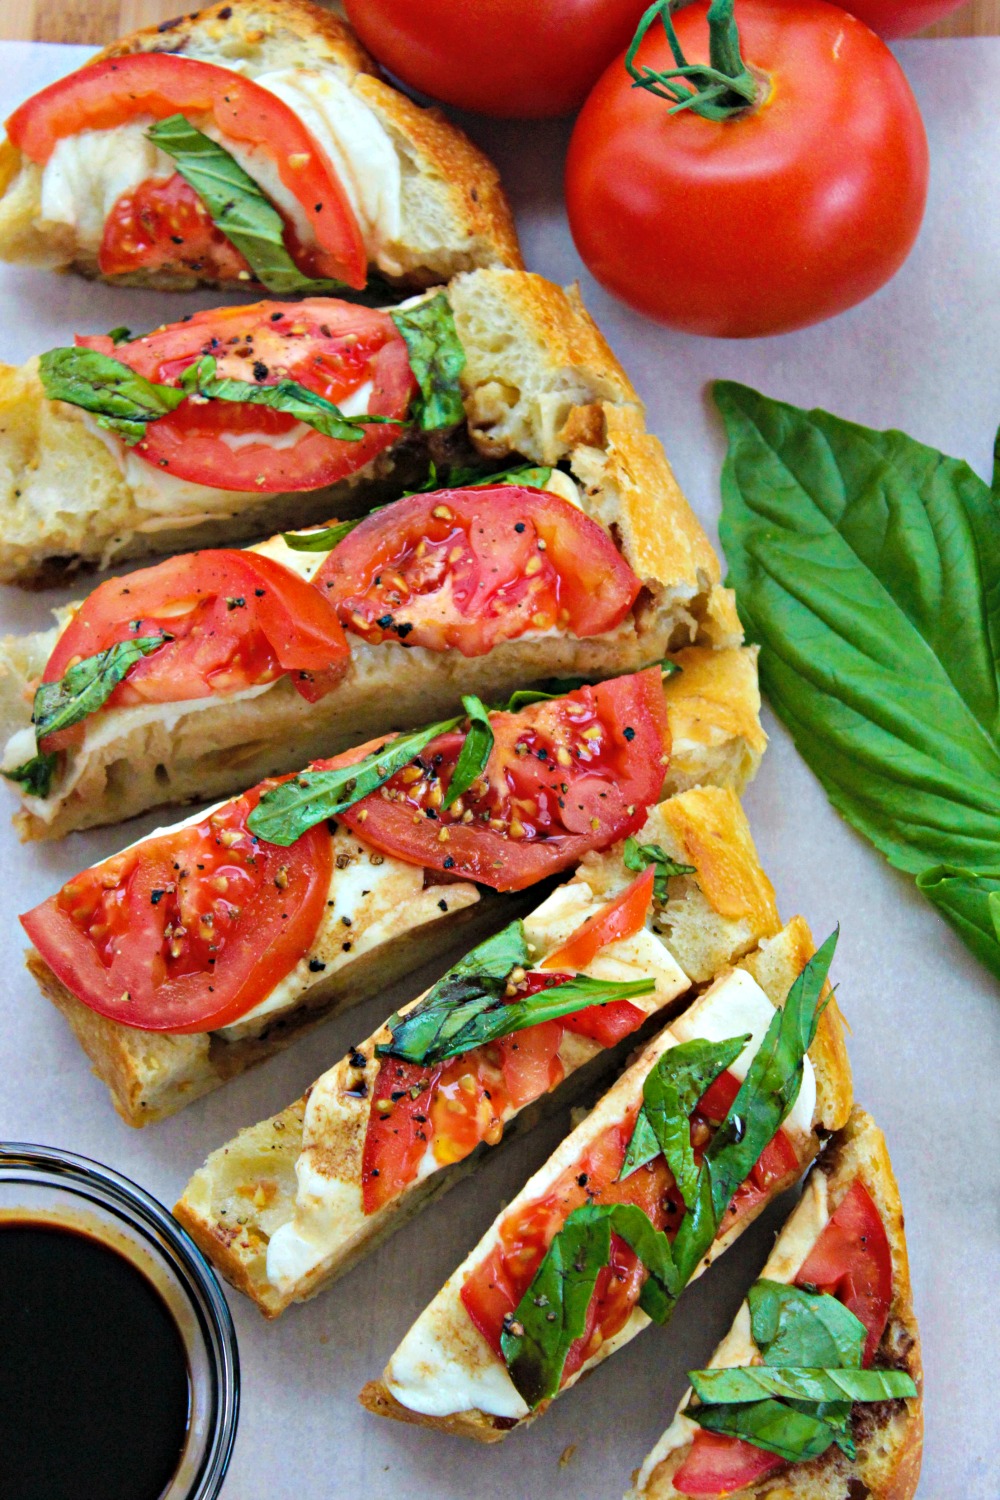
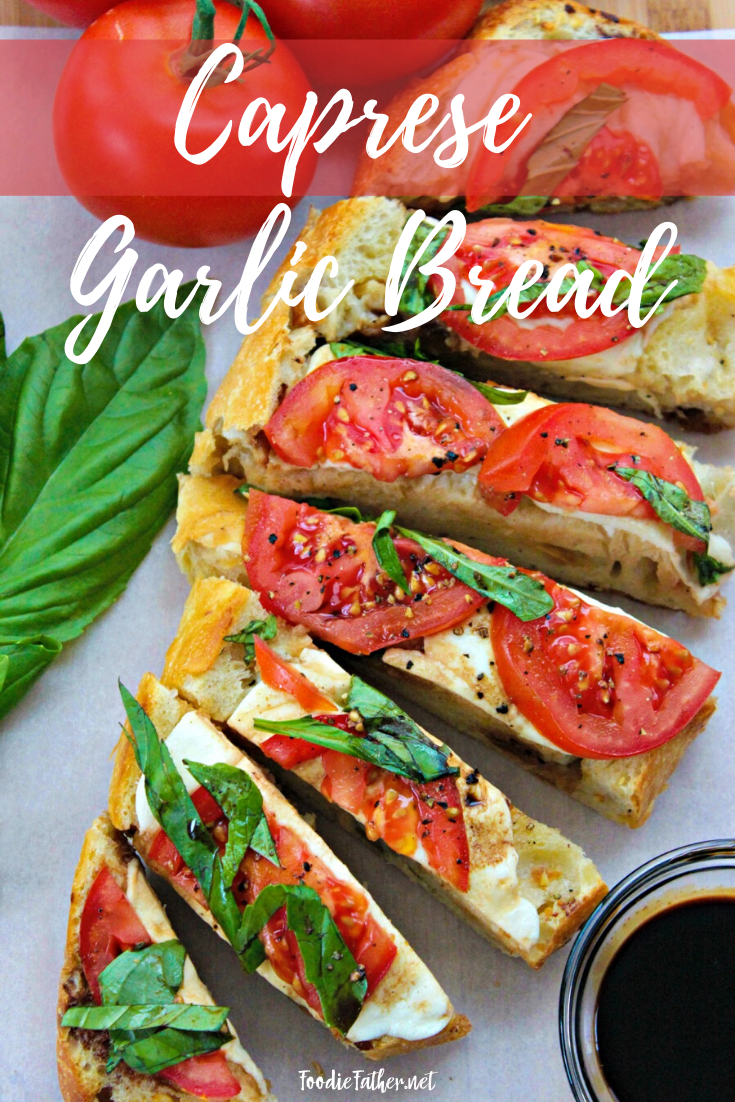
Caprese Appetizer on Bread
If you live in my house, the chances are you like bread. We all love bread. However, when I eat bread, I want to make it count. I want something absolutely delicious and I would love for my family to enjoy it as well. If you are looking for a caprese on baguette, caprese toast recipe, garlic caprese burrata toast, tomato mozzarella crostini, caprese ciabatta, toasted caprese ciabatta, toasted caprese sandwich ciabatta or even a ciabatta caprese sandwich, you’ll definitely be inspired by our caprese bread appetizer. This Caprese Appetizer on Bread recipe is really, really good. Everyone loves it. You can even change it up by adding some pesto using this as a base for a grilled chicken sandwich. There are many ways to enjoy this recipe.
Pan Seared Crunchy Rice Cakes over Italian Salad | Chicken Salad Cucumber Cups | Goat Cheese Potato Cakes over Spring Salad | Watermelon, Mango and Feta Cheese Salad | Caprese Appetizer on Bread
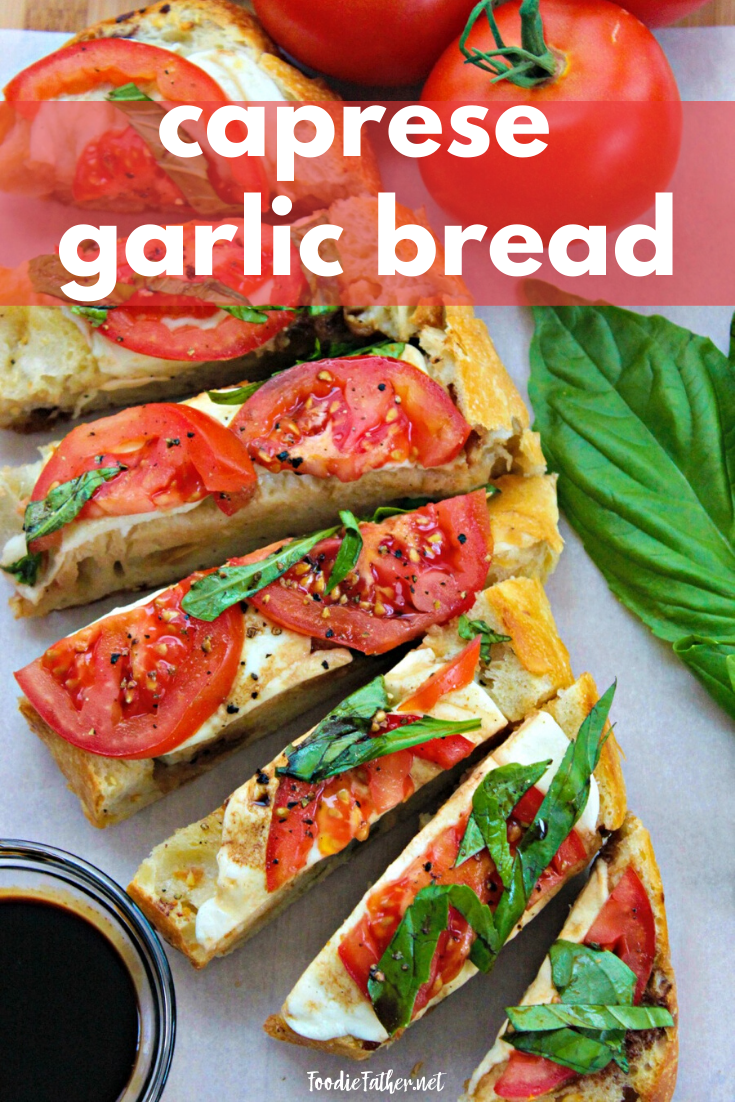
Caprese Appetizer on Bread
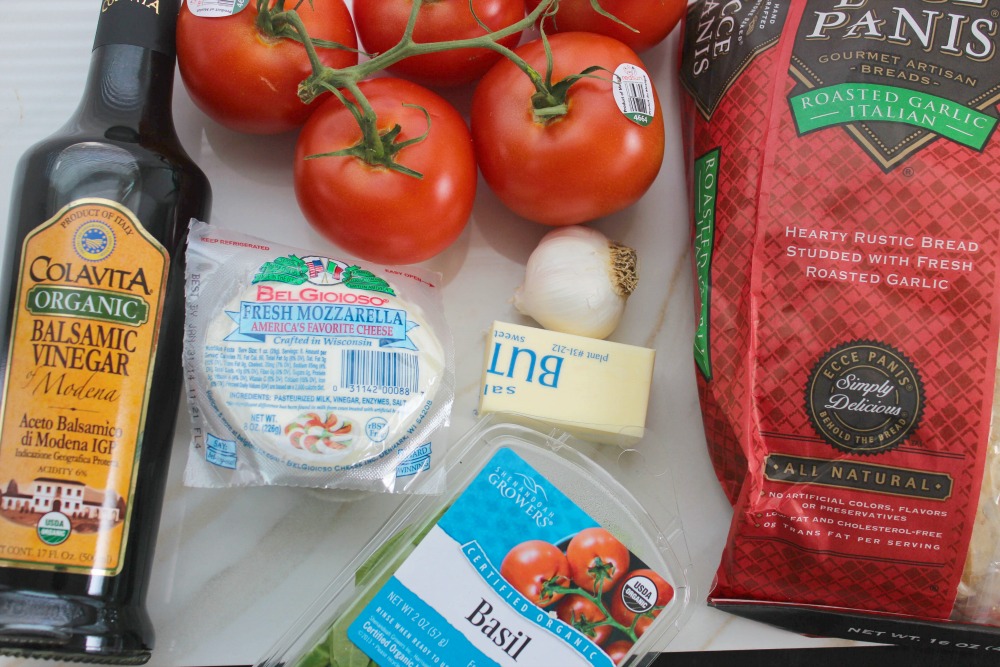
Ingredients for the caprese bread appetizer
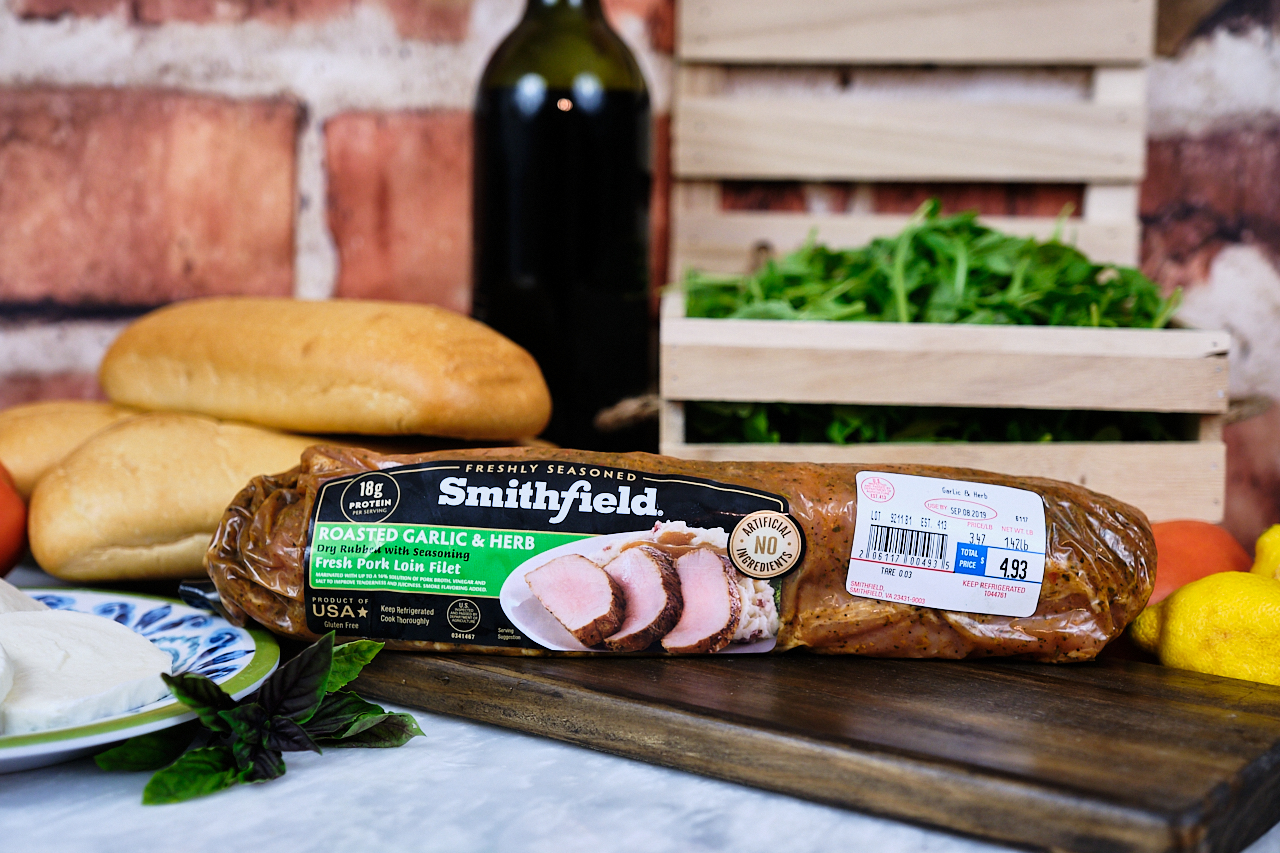
- 1 loaf Italian bread
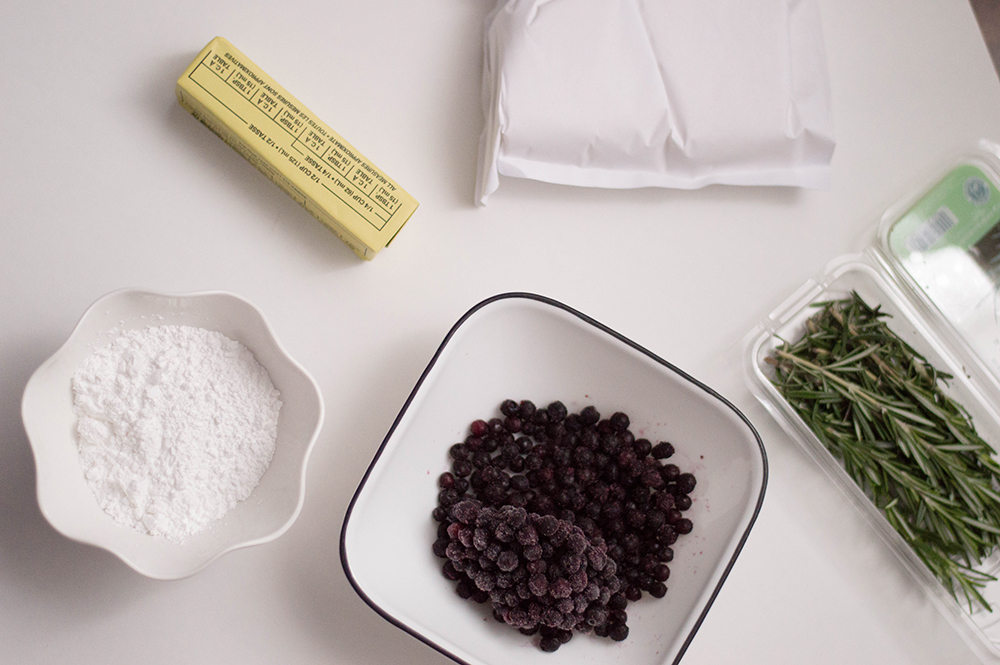
- 4 tbsp softened butter
- 3 cloves garlic, minced
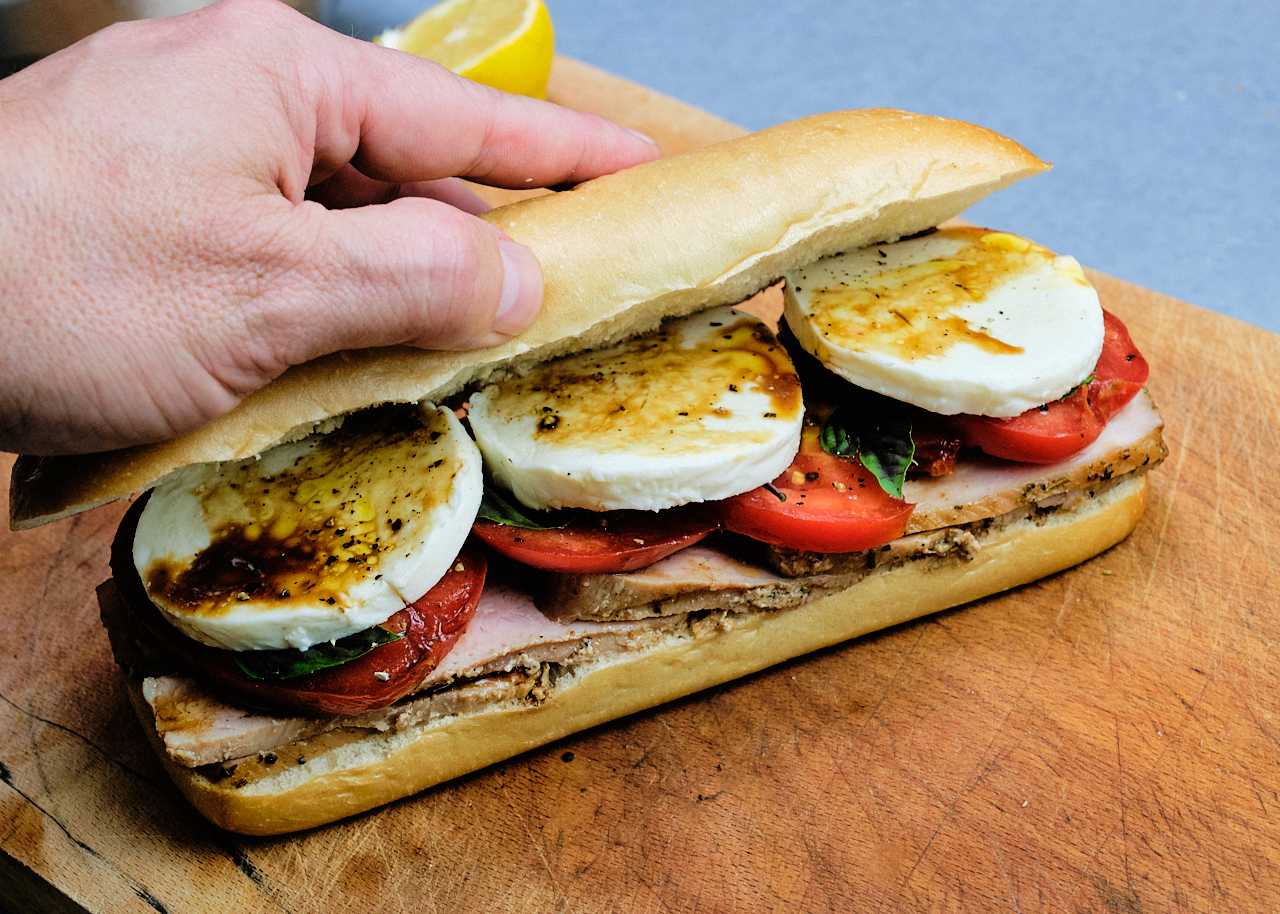
- 12 oz fresh mozzarella cheese, sliced
- 1/2 cup balsamic vinegar
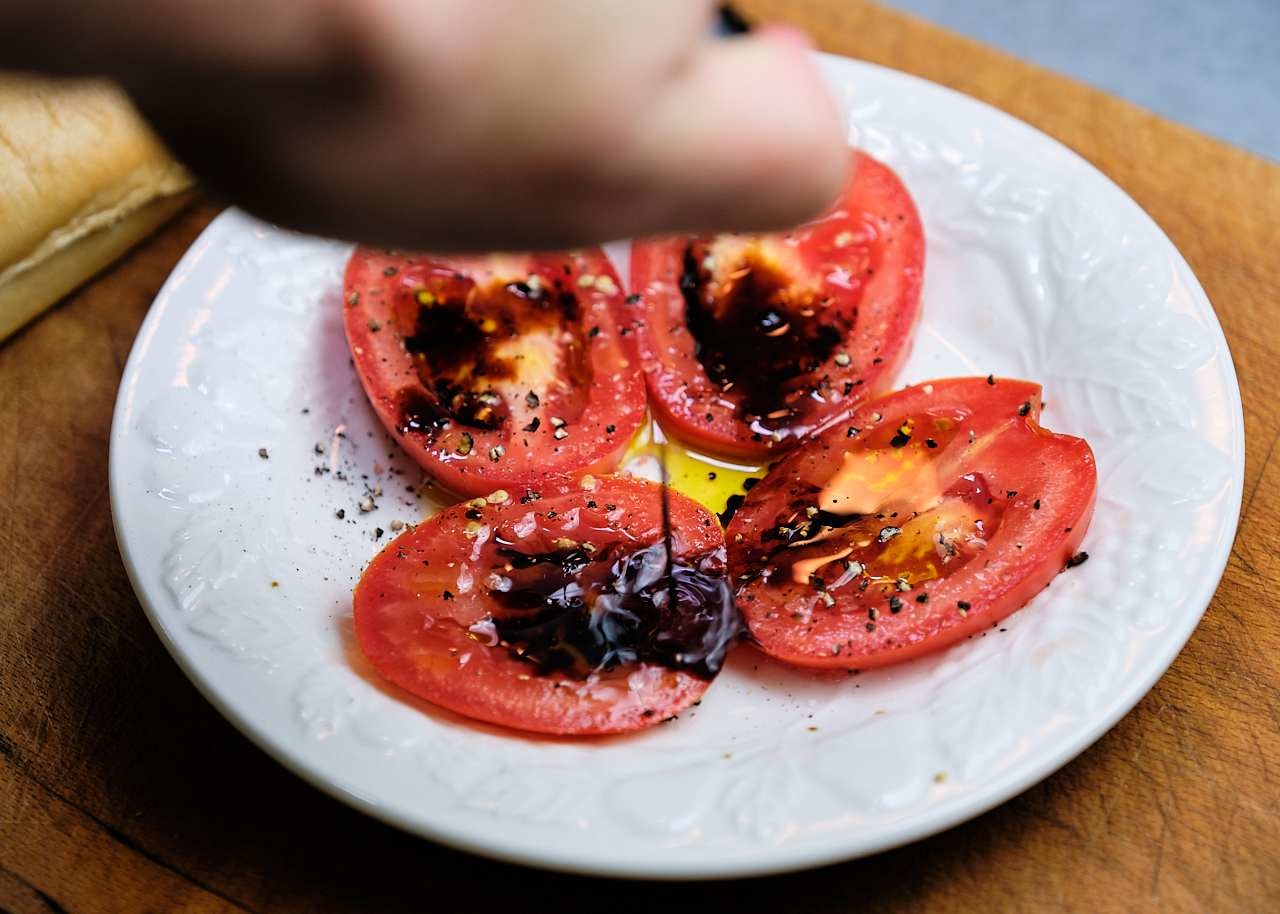
- 3 medium tomatoes, sliced
- salt and pepper, to taste
- 1/3 cup fresh basil leaves, chopped
Directions for the caprese on baguette
- Preheat oven to 400 to start your caprese toast recipe.
- Add vinegar to small saucepan bring to a boil.
- Reduce heat to low and simmer until reduced by half. Remove from heat and allow to cool.
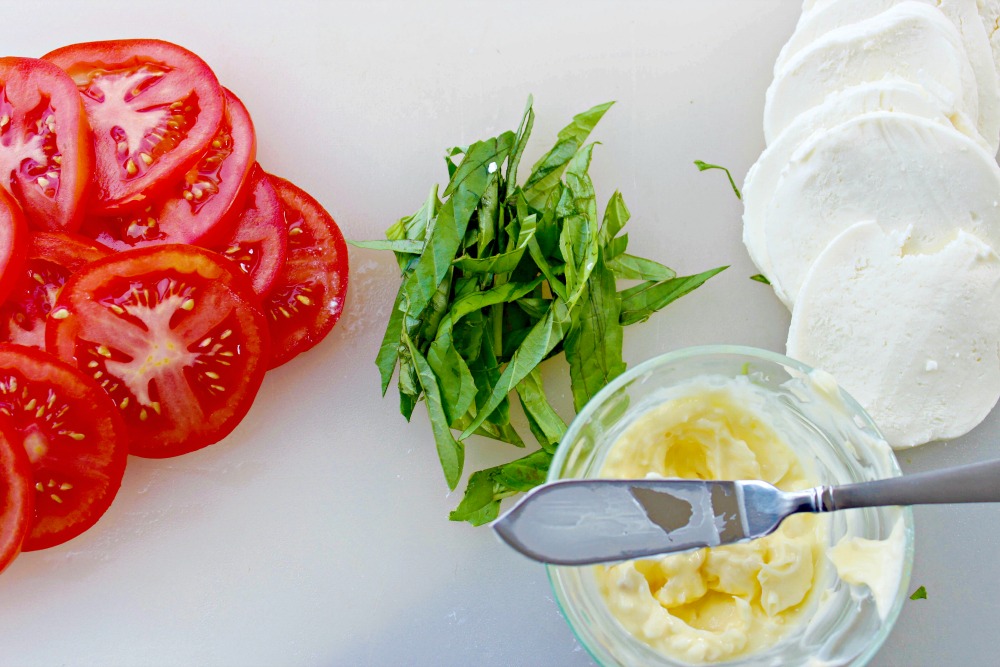
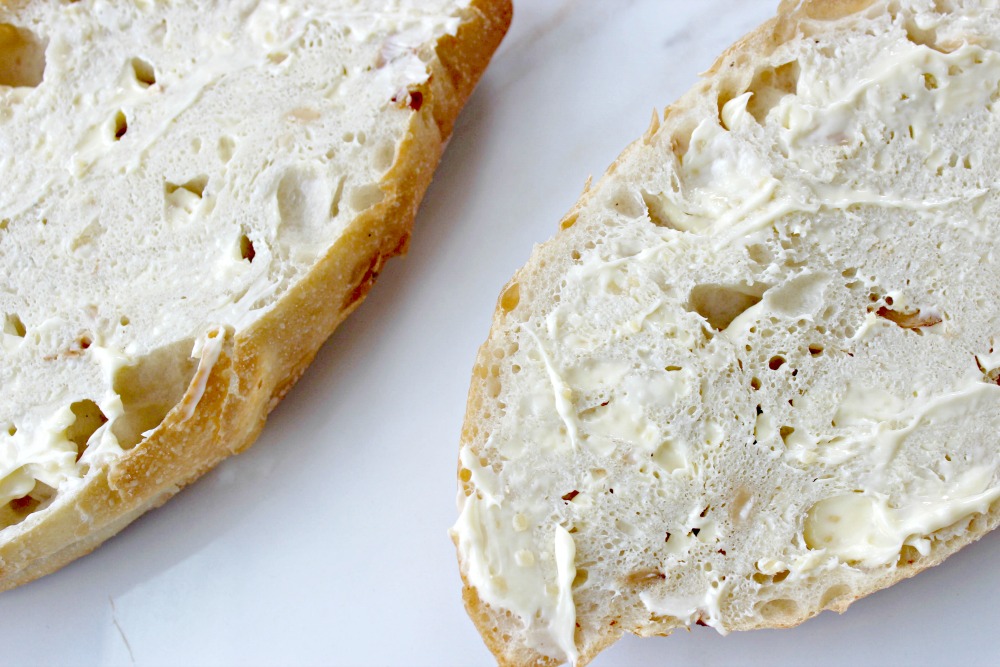
- Add minced garlic to butter and mix well.
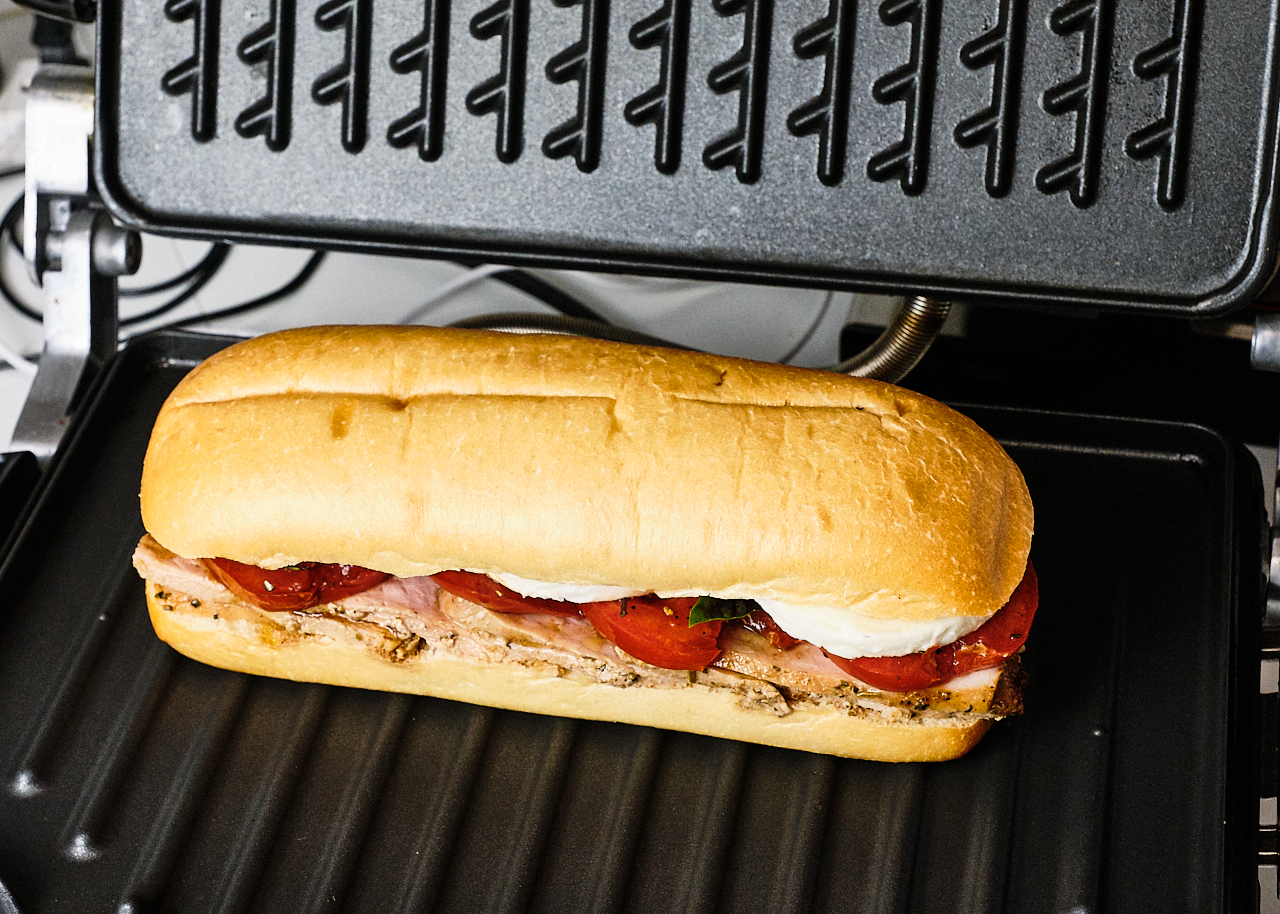
- Cut the loaf of bread in half lengthwise. Butter the cut sides with the garlic butter.
- Place on a baking sheet with the cut side up. Place the mozzarella cheese slices on top of the bread.
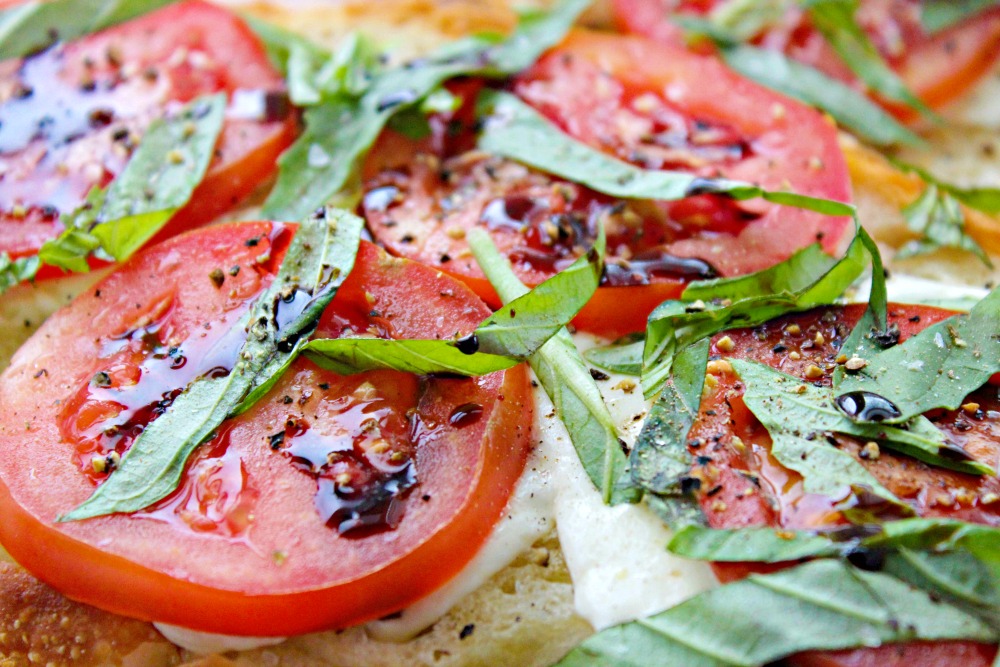
- Bake for about 12 minutes, until cheese is melted and edges are starting to brown.
- Top with the sliced tomatoes. Top tomatoes with chopped basil and salt and pepper to taste. Drizzle with balsamic reduction.
- Cut into slices and serve.
Whether you were looking for a caprese on baguette, caprese toast recipe, garlic caprese burrata toast, tomato mozzarella crostini, caprese ciabatta, toasted caprese ciabatta, toasted caprese sandwich ciabatta or even a ciabatta caprese sandwich, you’ll love our caprese bread appetizer. You can even add chicken for a heartier meal! We hope that this delicious appetizer inspires you. Happy cooking!