There are things that make Summer be Summer. One of them is an ice-cold drink in your hand, I mean the whole season should be spent drinking something delicious, grilling something in the backyard and planning road trips with the family. So in my quest to find the perfect Summer drink I discovered the Dark and Stormy Cocktail Recipe and I only wish I found it sooner.
Dark and Stormy is a traditional cocktail made with dark rum (that’s the dark art on the name) and with ginger beer (that’s the stormy section). It’s a super easy, super straightforward recipe that’s really packed with a punch.
The traditional recipe only calls for the rum and the beer but I decided to take it up a notch and add a couple of drops of bitters. In my personal opinion bitters are the spices of cocktails and let you amp up any drink without a lot of effort. Without bitters, a drink would be just a drink, nothing to call home about.
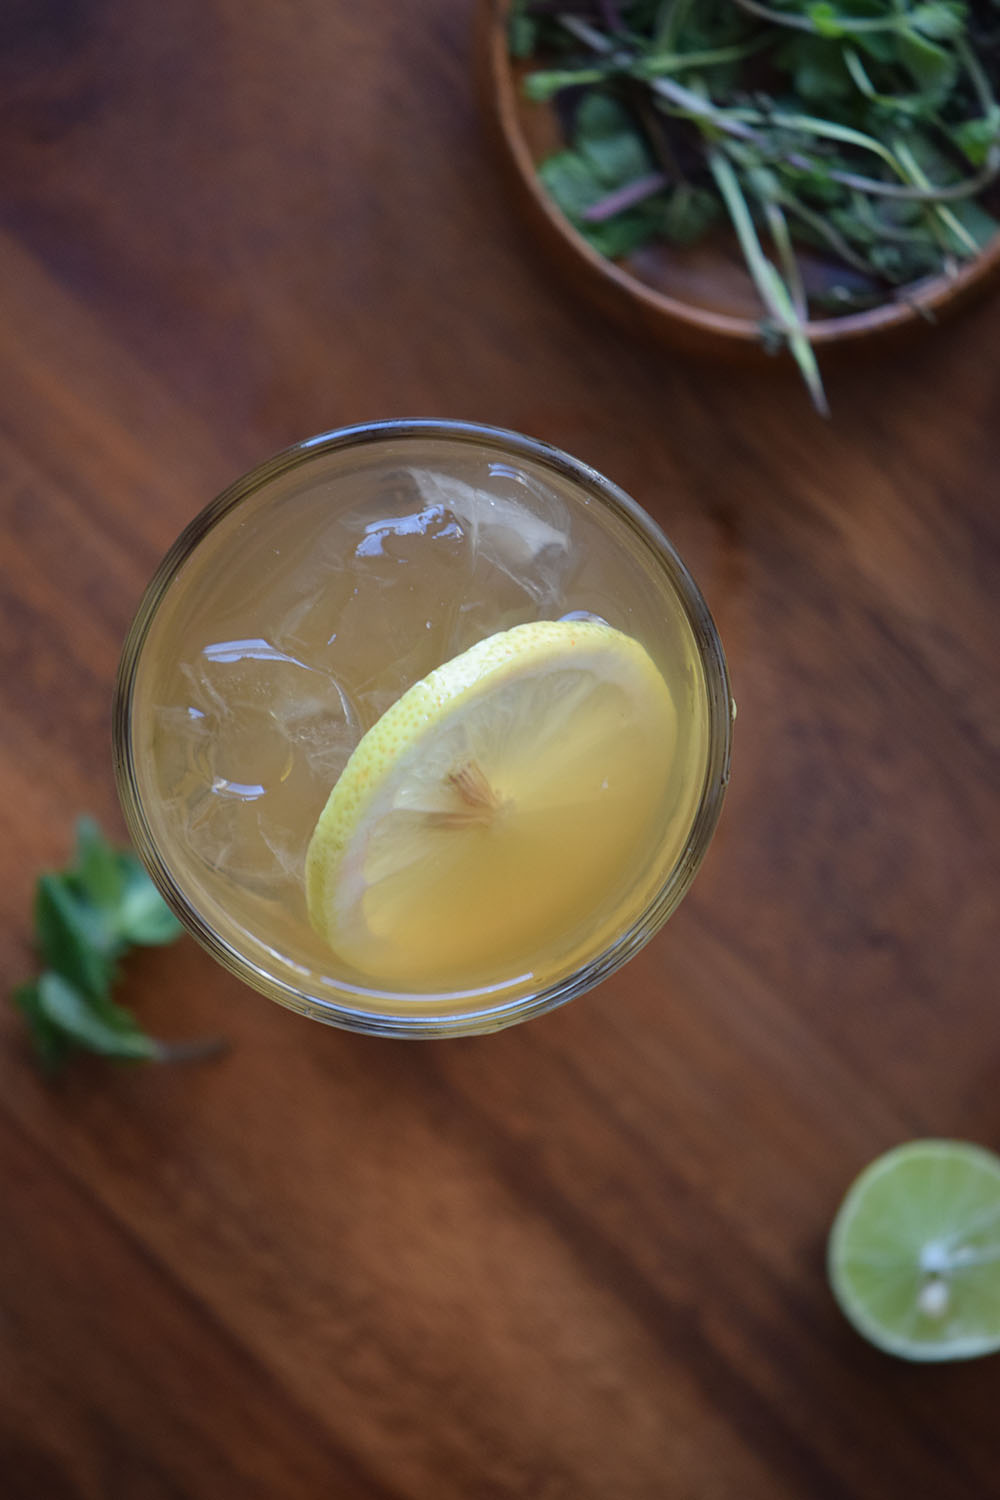
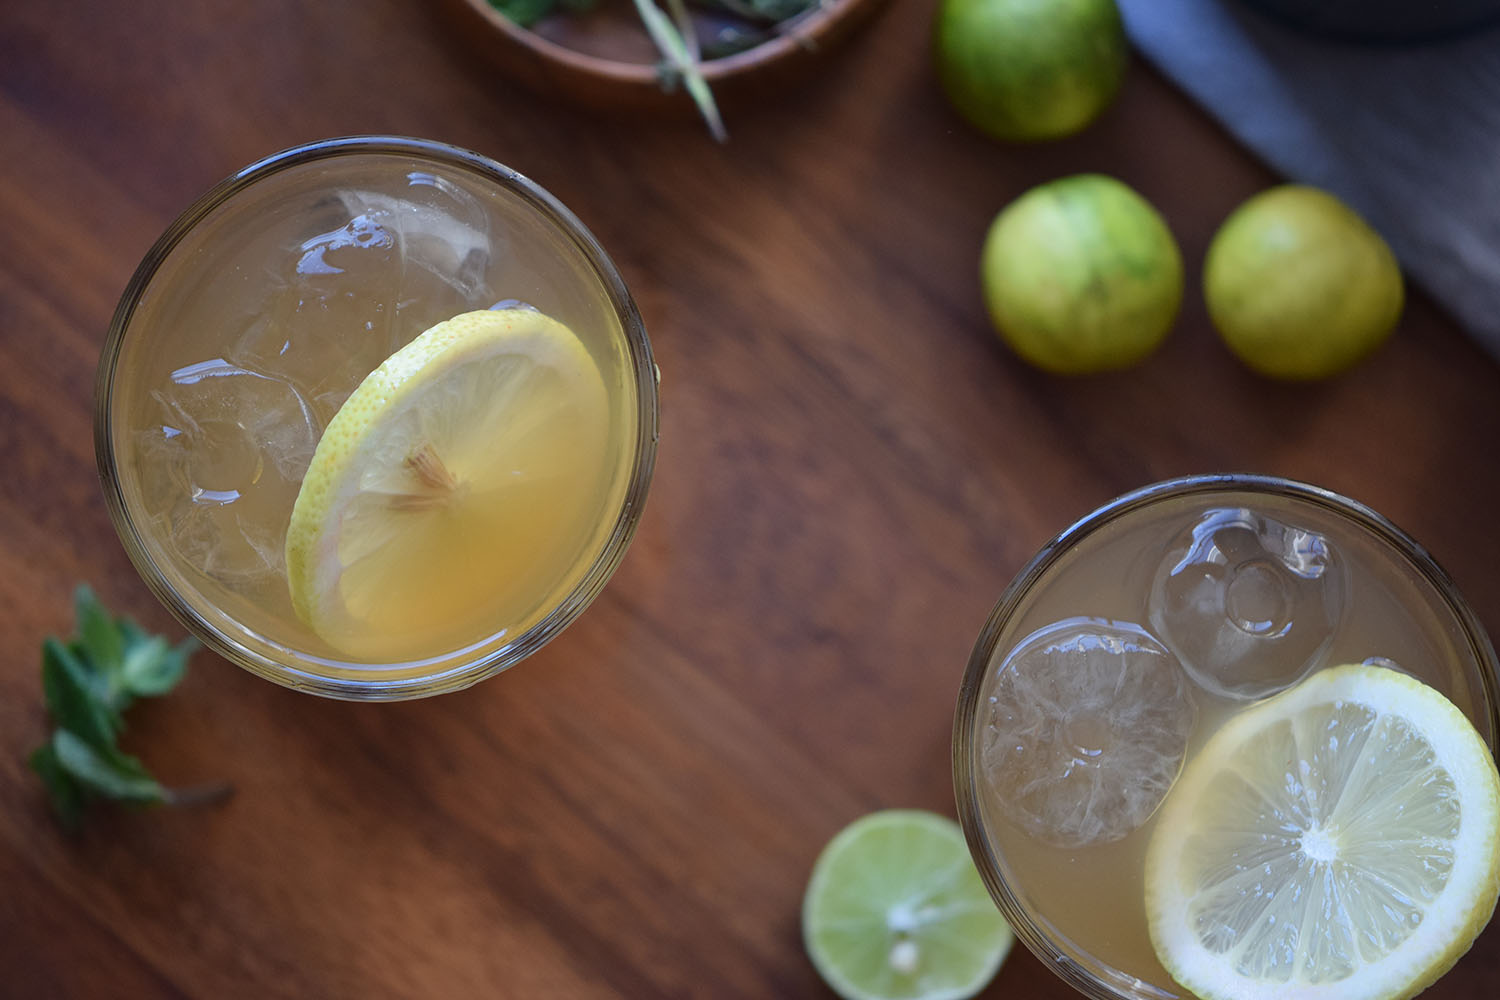
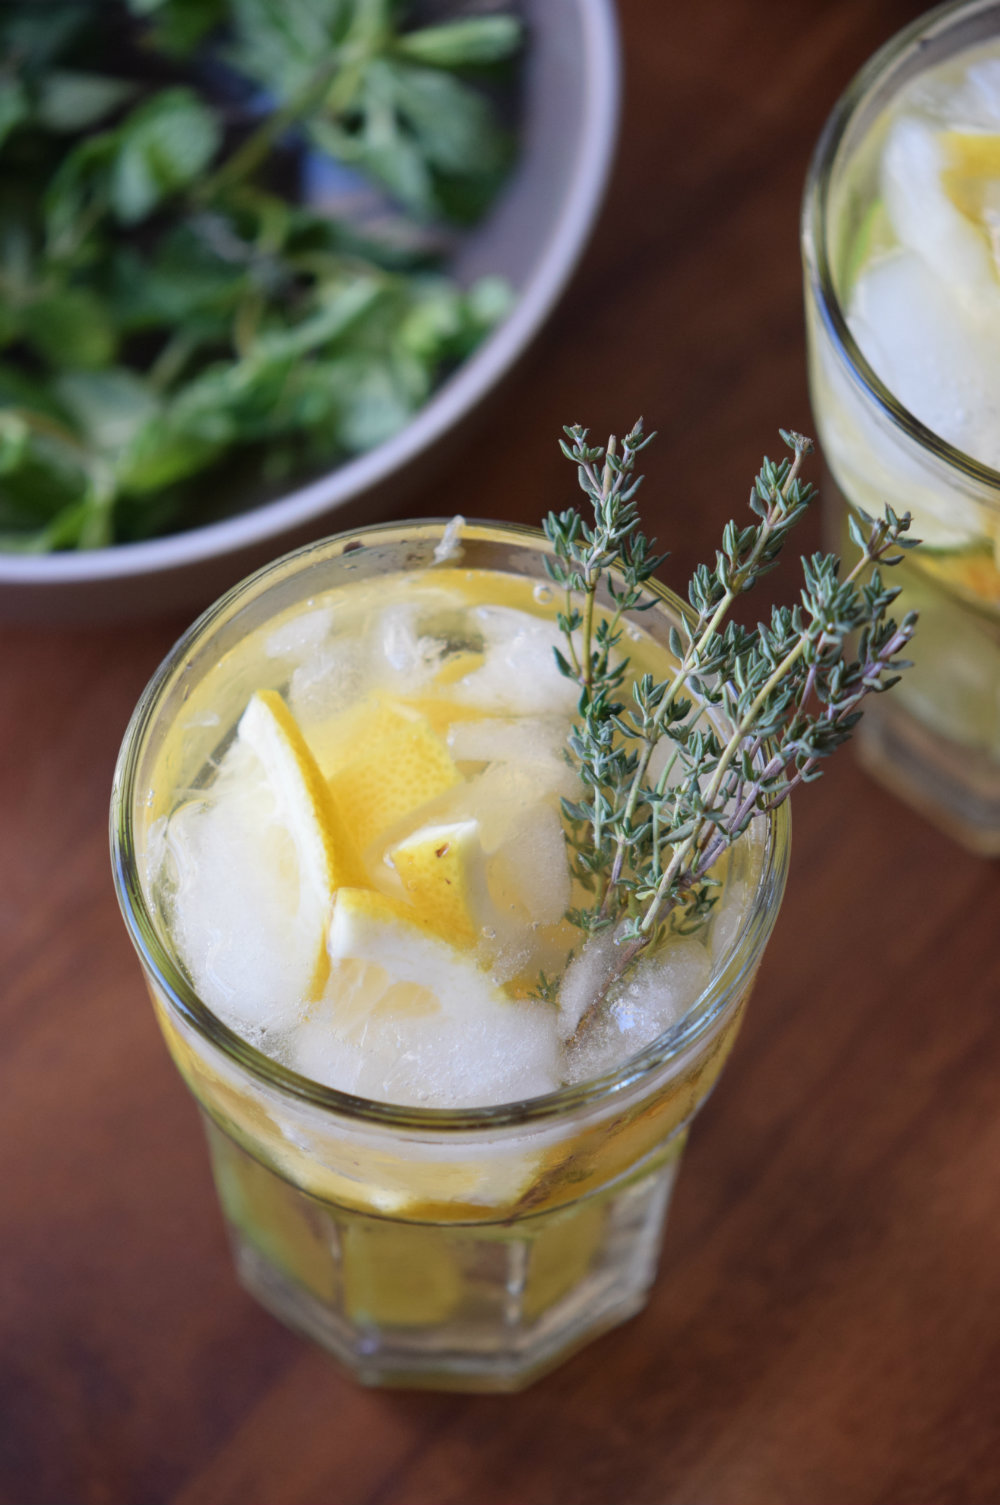
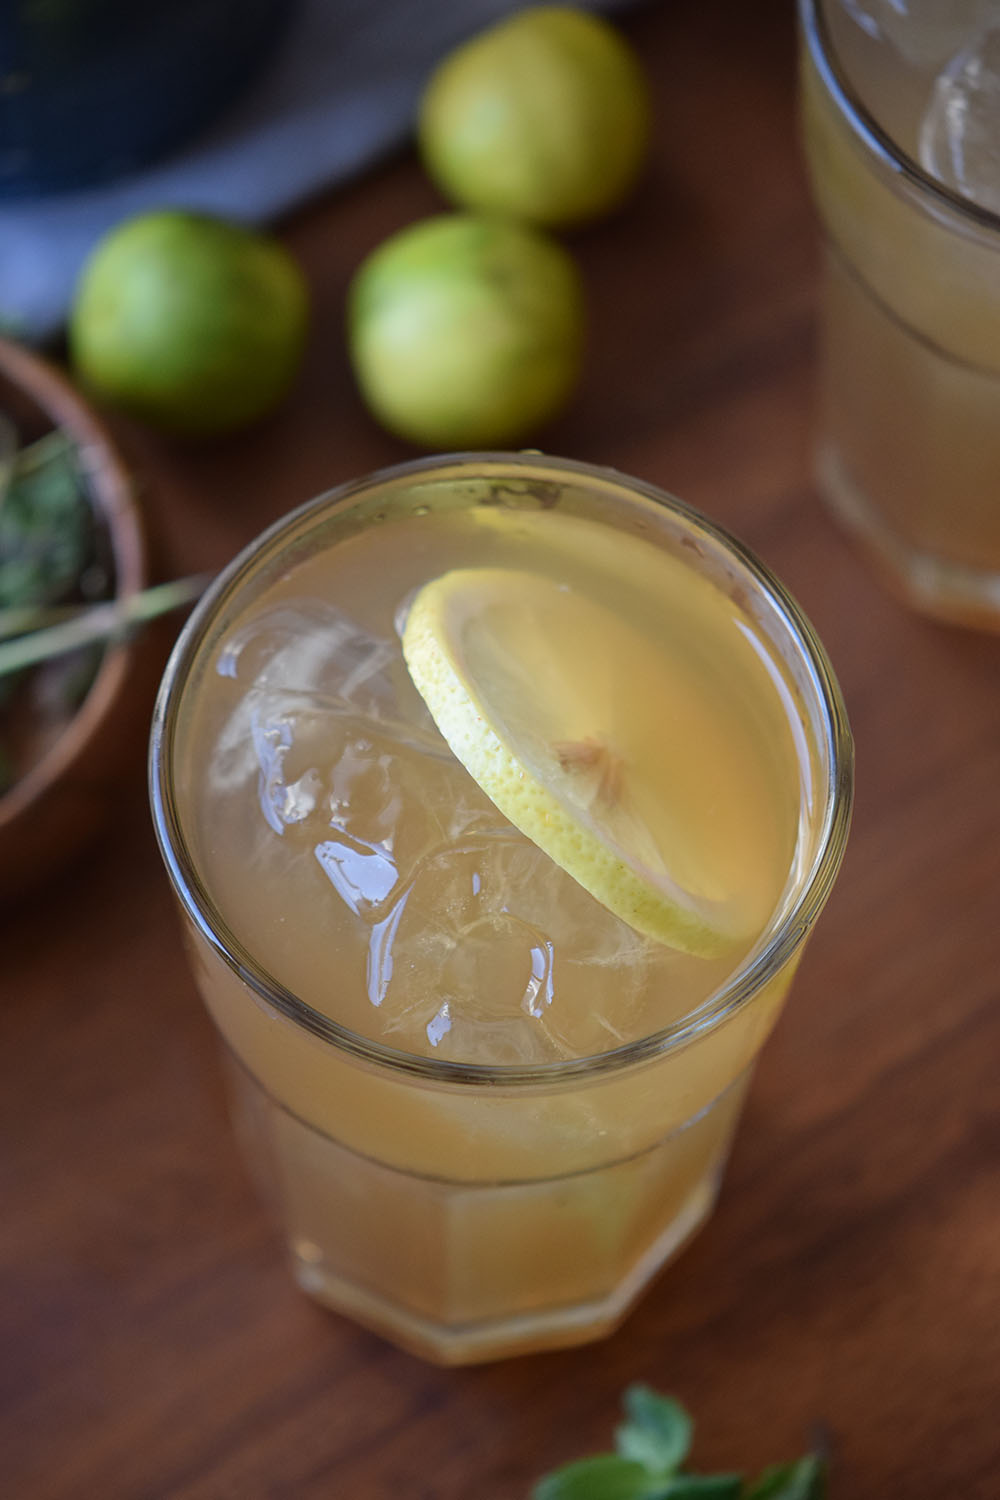
The traditional drink is also garnished with a couple of lime slices and I can’t recommend using them enough. Seriously bro, I thought the garnish was just for decorating purposes so the first time I made the Dark n’ Stormy I did it without the lime and it was good but missing something, you know what I’m talking about? When the cocktail is good but nothing remarkable.
So I shut down my ego, tried the recipe again with the lime and that was it. It was just like the one you buy from an expensive urban bar but better because you can make them every time you are craving one, no need to wait until you pay a visit to the place.
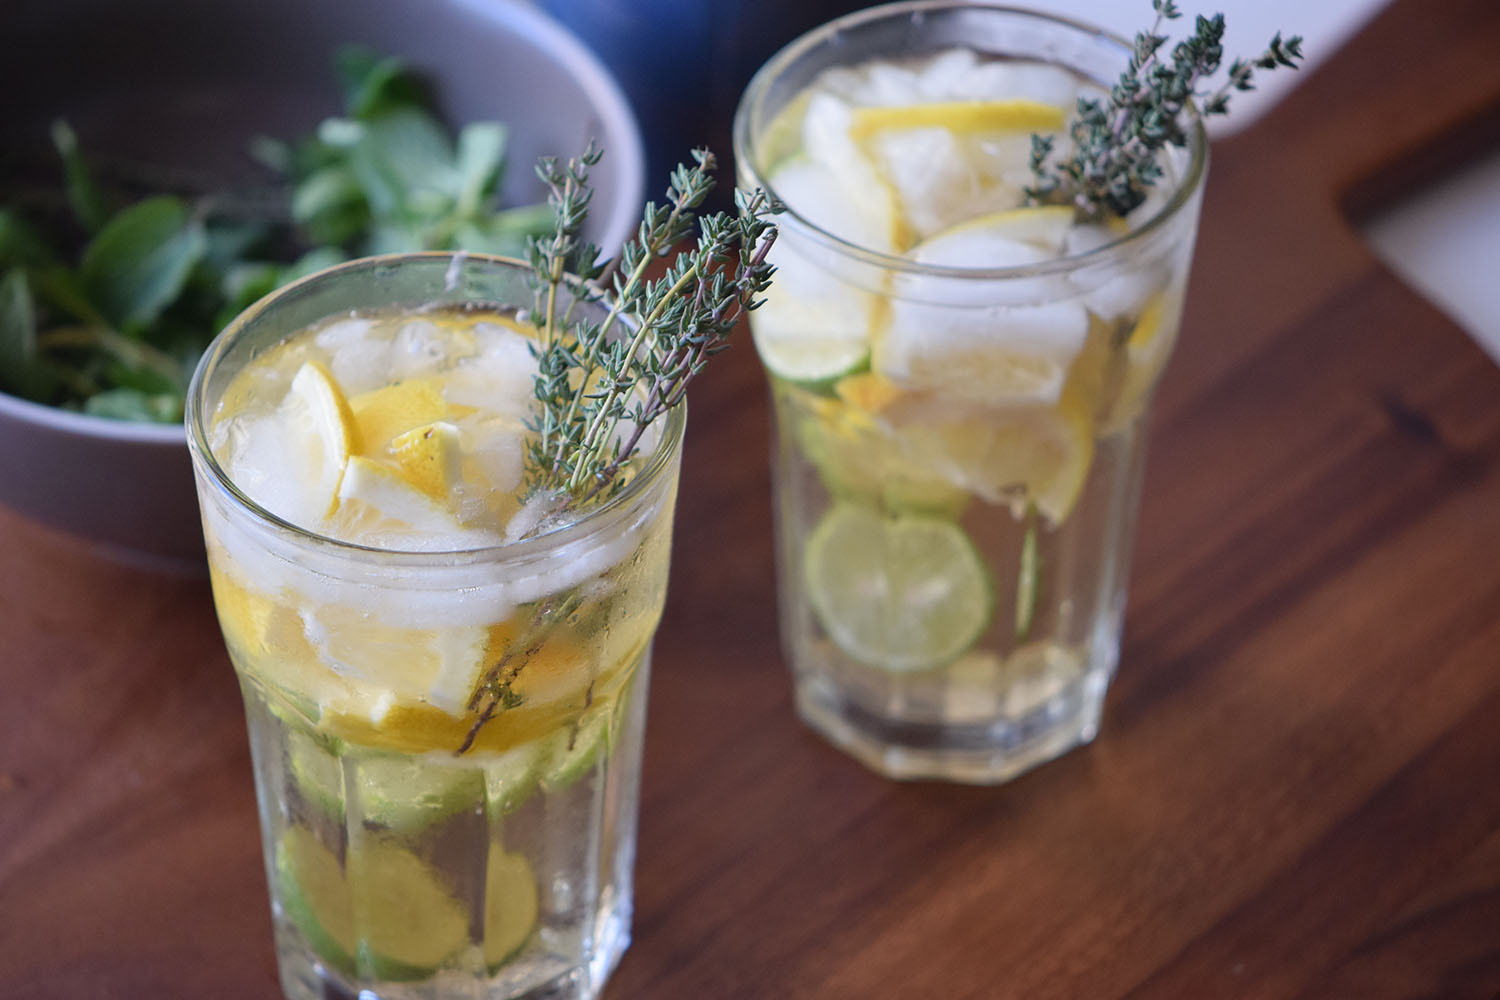
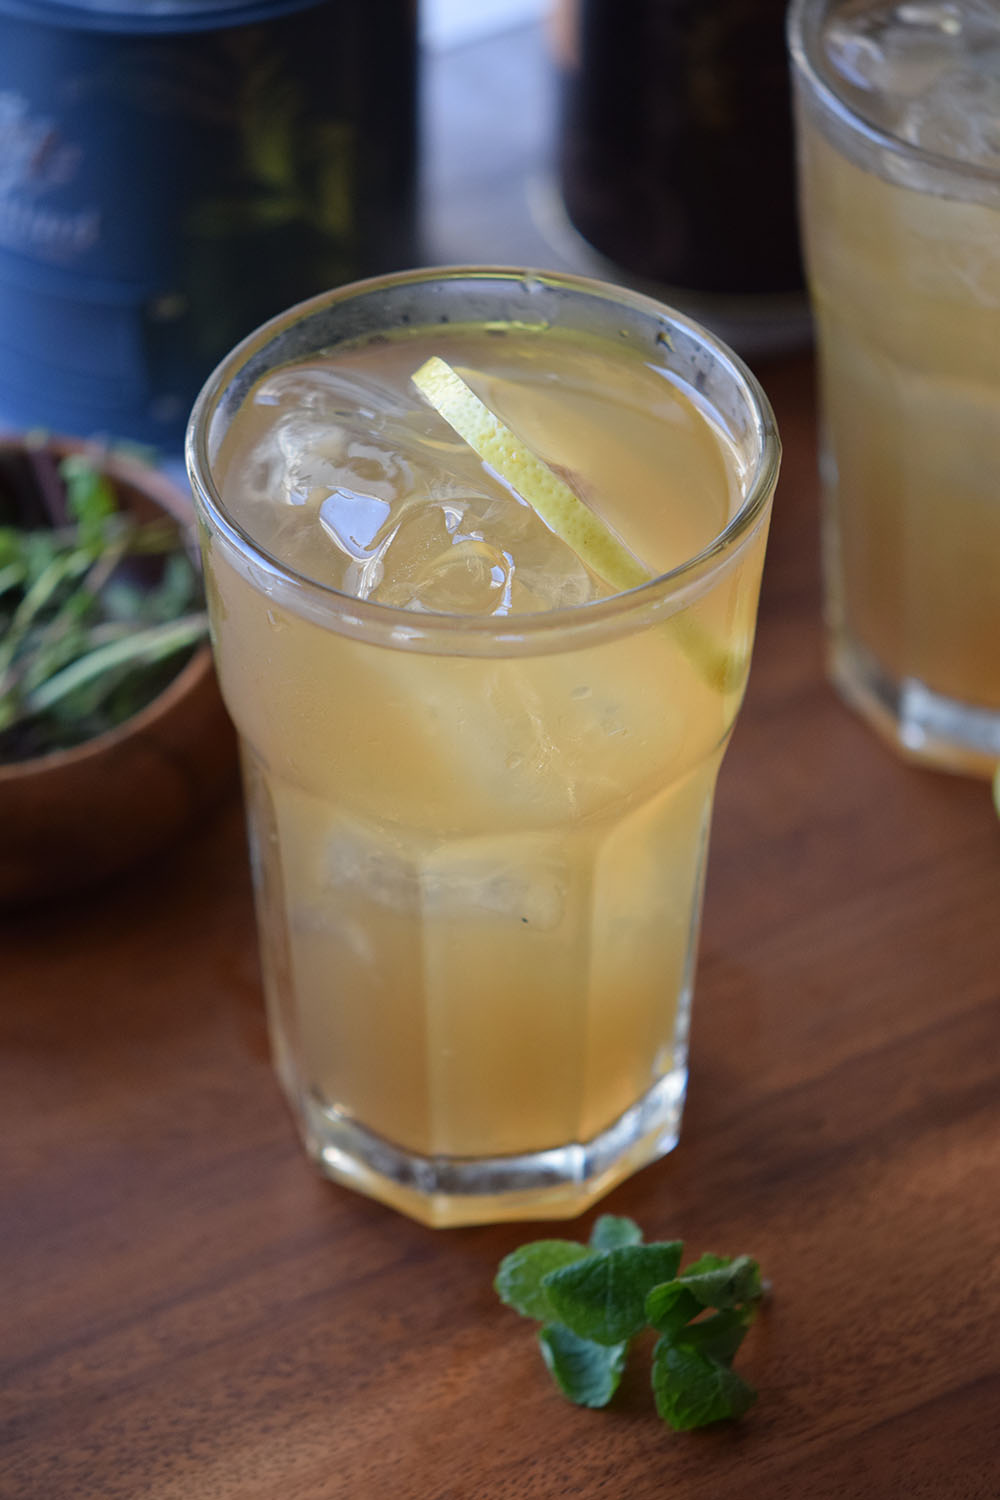
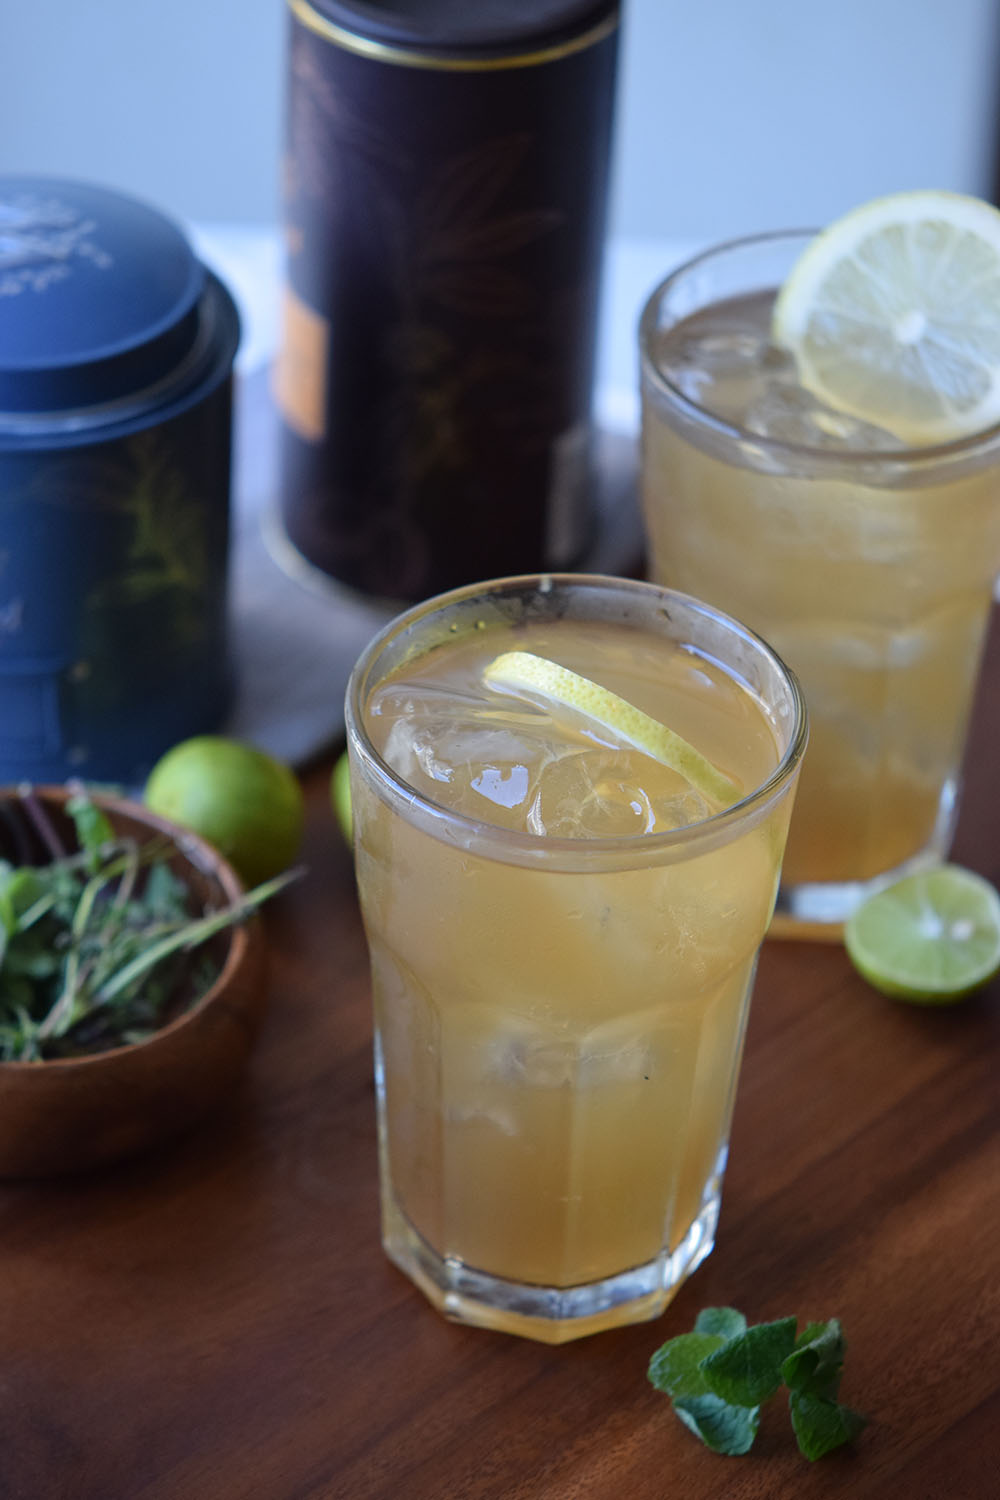
 Dark and Stormy Cocktail Recipe
Ingredients
- 2 oz. Dark rum
- 8 oz. Ginger beer
- 3 drops bitters
- ice
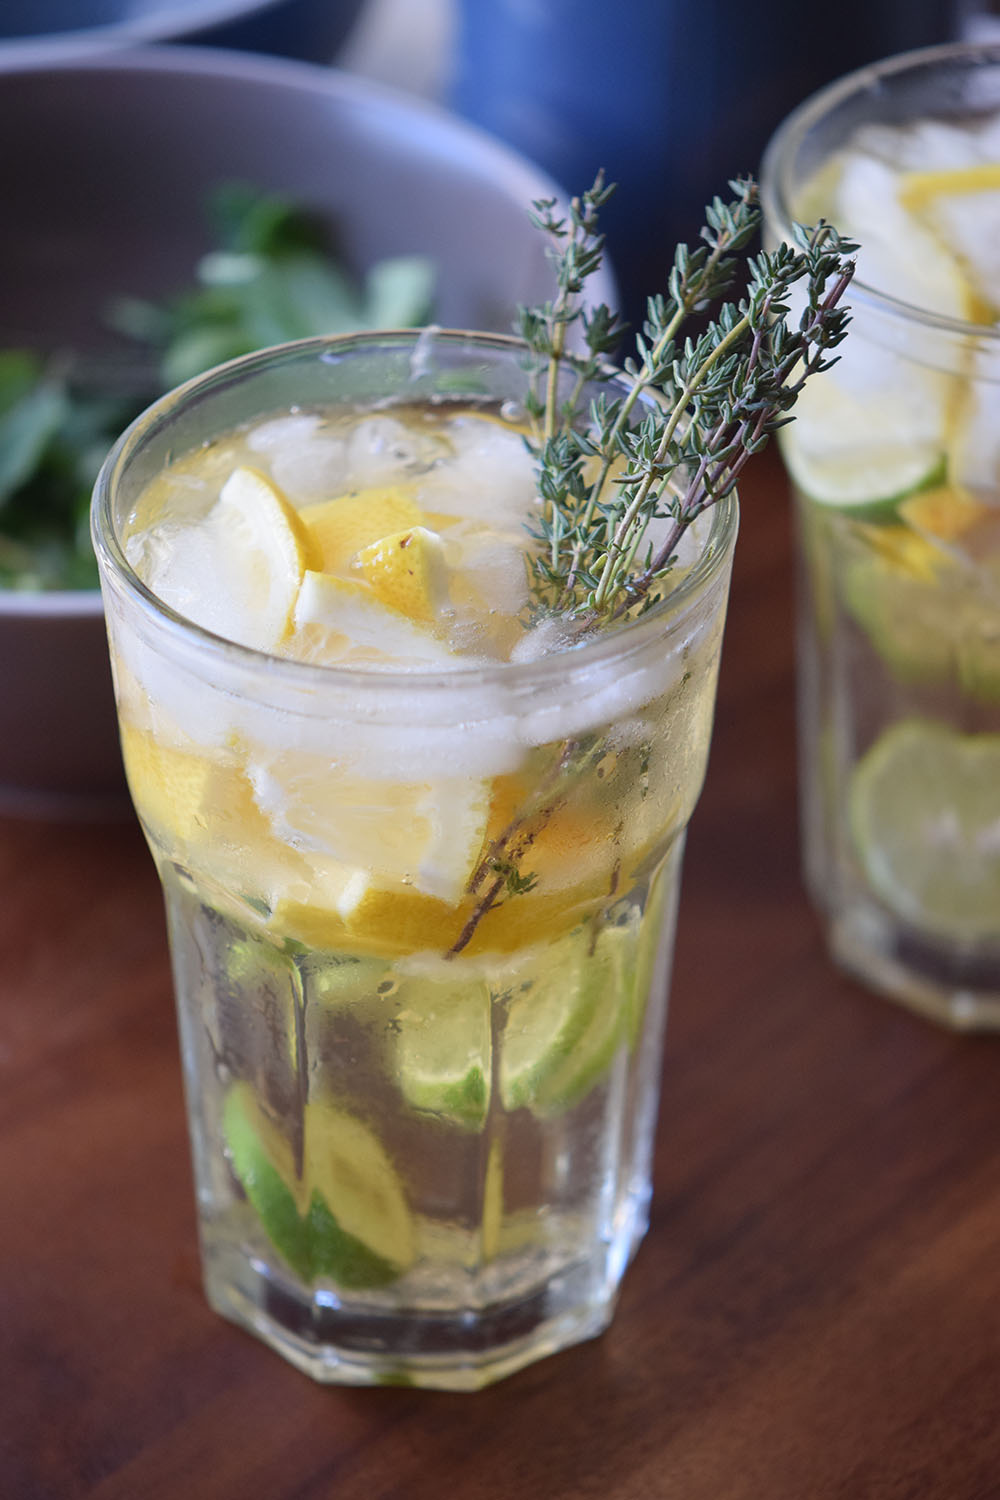
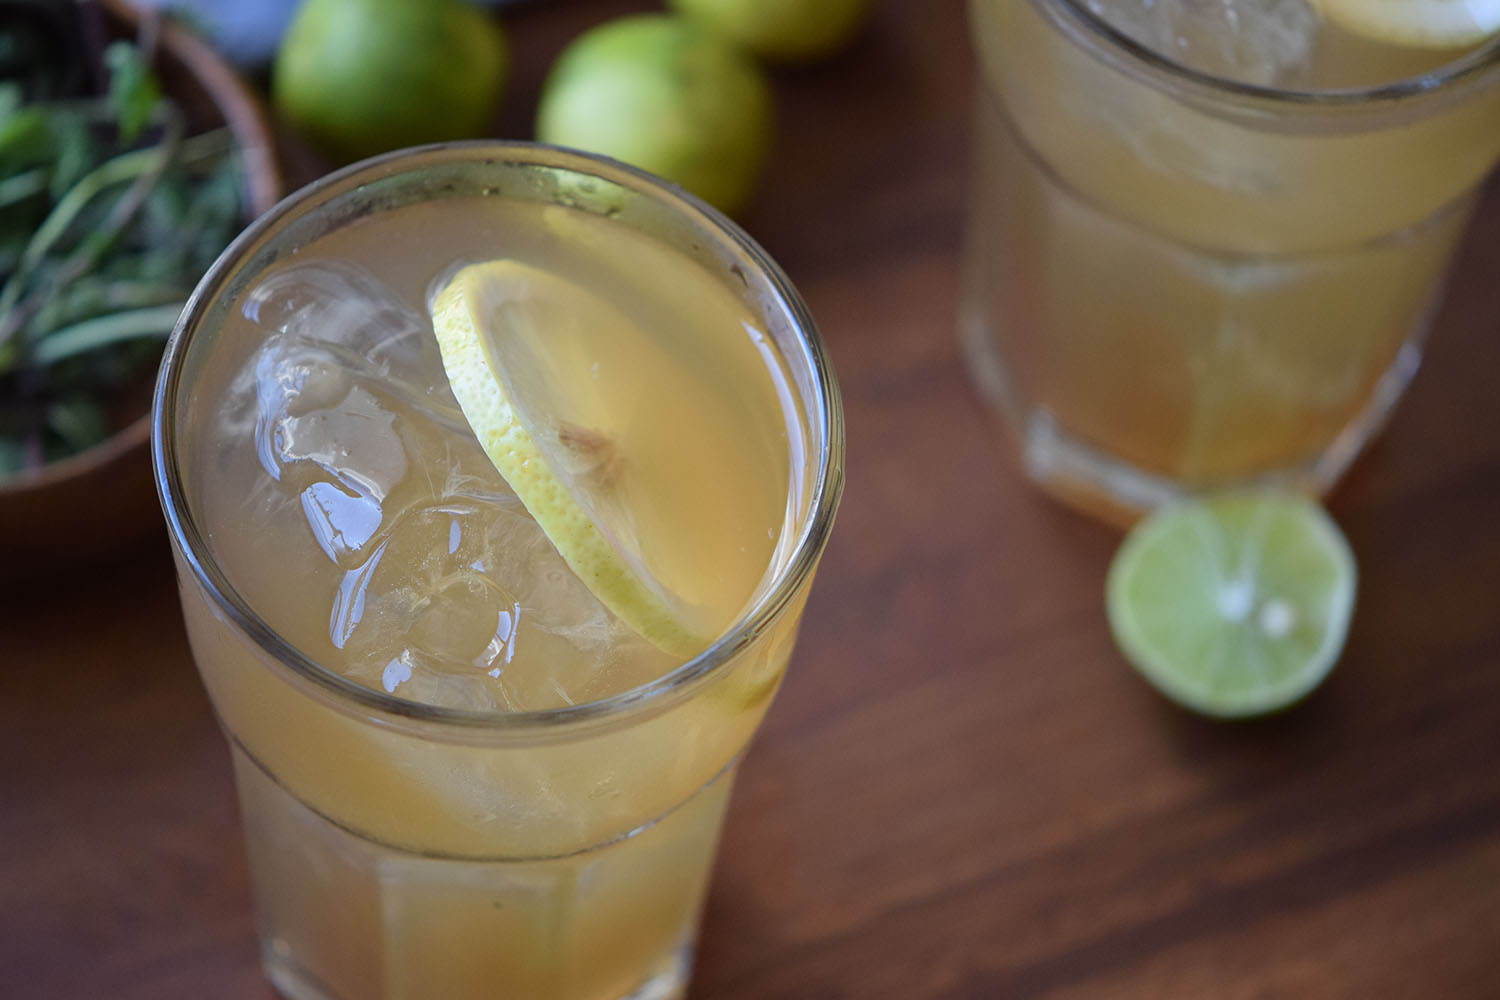
- lime or lemon wedge
Directions
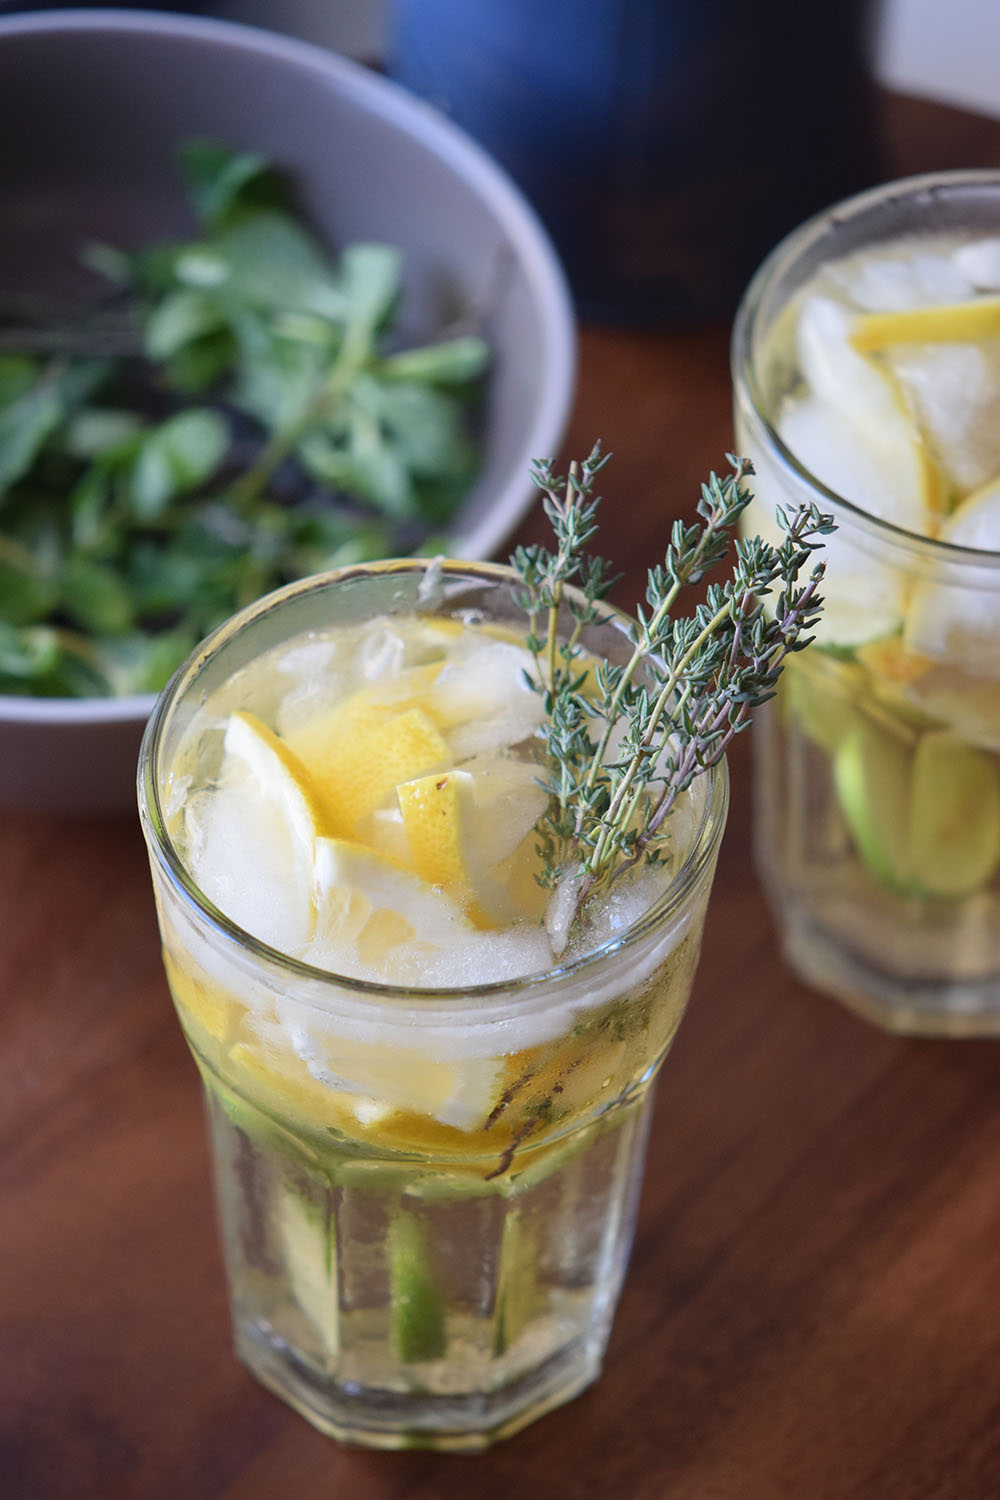
- Fill a glass with ice.
- Add the 1 or 2 ounces of rum, complete with ginger beer.
- Add the bitters drops. Stir.
- Top with a lime or lemon wedge.
- Enjoy.